这里来安装 naiveui,将上一步的测试页面搭建完成。
官网: https://www.naiveui.com/zh-CN/os-theme
安装
pnpm add -D naive-ui
流行的组件库,都支持按需引入。我们通过 unplugin-auto-import插件来完成。
pnpm add -D unplugin-vue-components

pnpm add -D unplugin-auto-import
然后再 vite.config.js 中进行配置。
import { fileURLToPath, URL } from 'node:url'

import { defineConfig } from 'vite'
import vue from '@vitejs/plugin-vue'

import AutoImport from 'unplugin-auto-import/vite'
import Components from 'unplugin-vue-components/vite'
import { NaiveUiResolver } from 'unplugin-vue-components/resolvers'

// https://vitejs.dev/config/
export default defineConfig({
  plugins: [
    vue(),
    AutoImport({
      imports: ['vue']
    }),
    Components({
      resolvers: [
        NaiveUiResolver()
      ]
    })
  ],
  resolve: {
    alias: {
      '@': fileURLToPath(new URL('./src', import.meta.url))
    }
  }
})
通过上边的配置,就可以在项目中,直接使用 naiveui 的组件了。
现在,我们修改下 header.vue。来实现登录注册首页三个页面的跳转。
# header.vue
<template>
    <header>
        <div>
      <n-avatar round size="large" @click="goHome">
        LOGO
      </n-avatar>
    </div>

        <div class="nav-bar">
            <n-space class="left-nav">
                <n-button quaternary @click="goHome">首页</n-button>
                <n-button quaternary>产品介绍</n-button>
                <n-button quaternary>关于我们</n-button>
            </n-space>

            <n-space class="right-nav">
                <n-button type="success" size="small" style="font-size: 12px;" @click="goLogin">登录</n-button>
                <n-button type="success" size="small" style="font-size: 12px" @click="goRegister">注册</n-button>
            </n-space>
        </div>
    </header>
</template>

<script setup>

import { useRouter } from 'vue-router'

const router = useRouter()

const goHome = () => {
    router.push({name: 'home'})
}

const goLogin = () => {
  router.push({name: 'login'})
}

const goRegister = () => {
  router.push({name: 'register'})
}
</script>

<style lang="scss" scoped>
header {
    display: flex;
    align-items: center;
    box-sizing: border-box;
    padding: 0 30px;
    width: 100%;
    height: 72px;
    background-color: #fff;
    box-shadow: 0 0.125rem 0.25rem #00000013 !important;

  .nav-bar {
    display: flex;
    align-items: center;
    width: 100%;
    box-sizing: border-box;
    padding-left: 50px;

    .left-nav {
      flex:1;
    }
  }
}
</style>
效果如下:
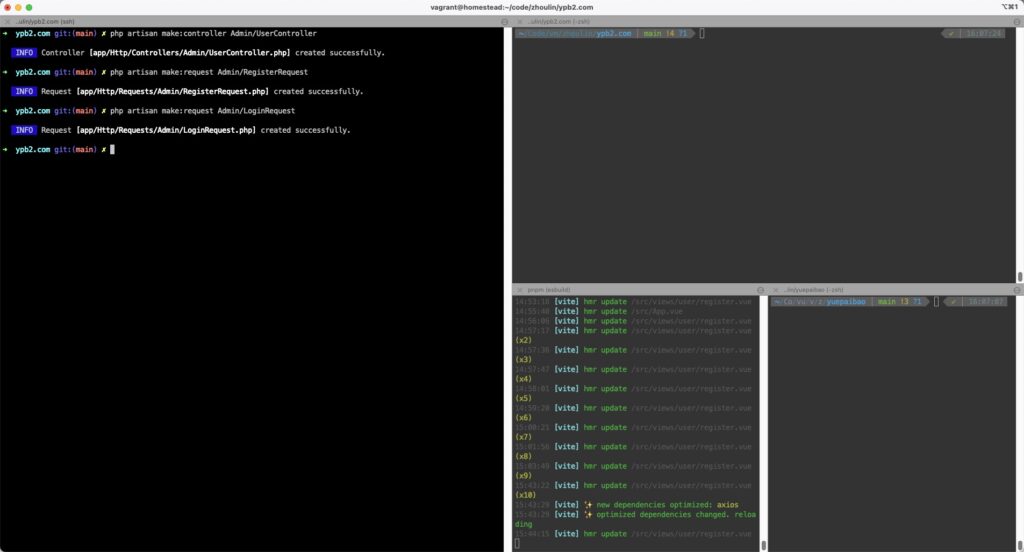
提交代码。
git add .
git commit -m '安装 Naive以及配置顶部 Ui'
顶部ui以及路由跳转完成了。现在做注册页面的 ui 以及相关逻辑。
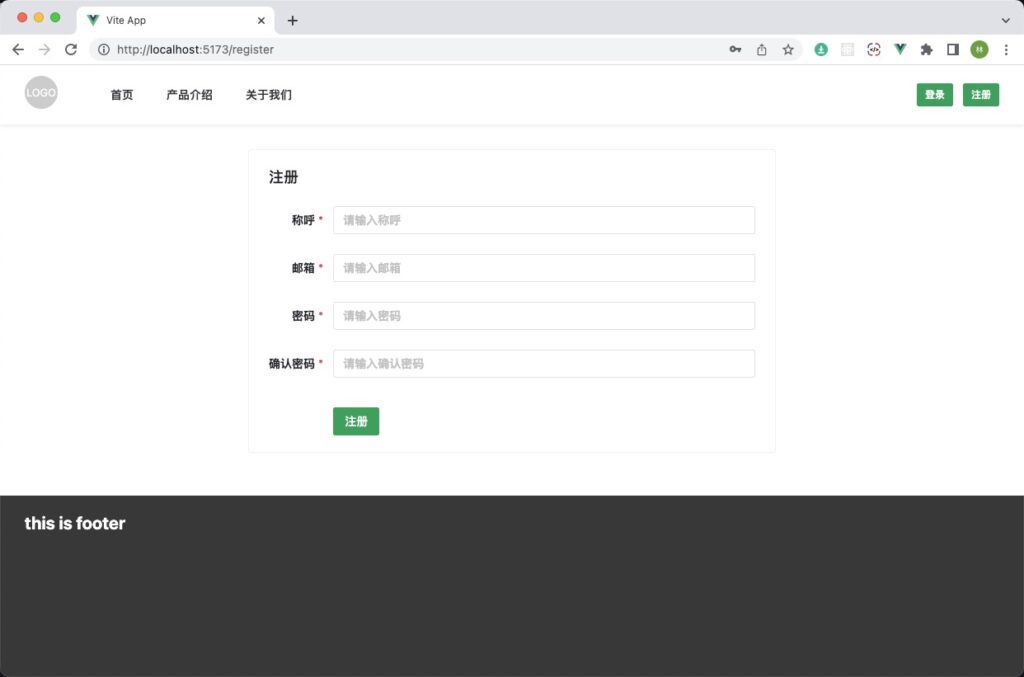
注册页面
对注册页面 ui 简单的进行一个布局,对表单数据只进行了基础的验证,就是只要存在就好。更详细的规则没配置。
<template>
    <div class="container">
        <div class="form-wrap">
            <n-card title="注册">
                <n-form
                    ref="formRef"
                    :model="model"
                    :rules="rules"
                    label-placement="left"
                    label-width="auto"
                    require-mark-placement="right-hanging"
                    :style="{
                        maxWidth: '640px'
                    }">
                    <n-form-item label="称呼" path="name">
                        <n-input v-model:value="model.name" :placeholder="rules.name.message" />
                    </n-form-item>
                    <n-form-item label="邮箱" path="email">
                        <n-input v-model:value="model.email" :placeholder="rules.email.message" />
                    </n-form-item>
                    <n-form-item label="密码" path="password">
                        <n-input type="password" v-model:value="model.password" :placeholder="rules.password.message" />
                    </n-form-item>
                    <n-form-item label="确认密码" path="confirmPassword">
                        <n-input type="password" v-model:value="model.confirmPassword" :placeholder="rules.confirmPassword.message" />
                    </n-form-item>

                    <n-form-item label=" " :show-feedback="false" class="register-item">
                        <n-button strong type="primary" @click="submit">注册</n-button>
                    </n-form-item>
                </n-form>
            </n-card>
        </div>
    </div>
</template>

<script setup>
import { ref, reactive } from 'vue'

const formRef = ref(null)

const model = reactive({
    name: null,
    email: null,
    password: null,
    confirmPassword: null
})

const rules = {
    name: {
        required: true,
        trigger: ['blur', 'input'],
        message: '请输入称呼'
    },
    email: {
        required: true,
        trigger: ['blur', 'input'],
        message: '请输入邮箱'
    },
    password: {
        required: true,
        trigger: ['blur', 'input'],
        message: '请输入密码'
    },
    confirmPassword: {
        required: true,
        trigger: ['blur', 'input'],
        message: '请输入确认密码'
    }
}

const submit = () => {
    formRef.value?.validate((errors) => {
        if (errors) {
            console.error(errors)
        }
    }).then(() => {

  })
}
</script>

<style lang="scss" scoped>
.container {
    display: flex;
    justify-content: center;

    .form-wrap {
        display: flex;
        margin: 30px 0;
        min-width: 640px;
    }

    .register-item {
        margin-top: 12px;
    }
}
</style>
效果如下:
提交代码。
git add .
git commit -m '注册页面的搭建'
开始写数据请求部分的逻辑了。一般用 axios、flyio 这类库。这里用 axios。
安装、配置、使用 axios
pnpm add axios
安装好后,然后简单封装一个请求库,src/api/request.js。
如下:
import axios from 'axios'

// 全局基本配置
axios.defaults.baseURL = 'http://ypb2.com/admin/api/'
axios.withCredentials = true
axios.timeout = 20000

// 请求拦截器
axios.interceptors.request.use(
    (config) => {
        config.headers = {
            Authorization: `Bearer ${GetToken()}`
        }
        return config
    },
    (error) => {
        return Promise.reject(error)
    }
)

// 响应拦截器
axios.interceptors.response.use(
    (response) => {
        return response
    },
    (error) => {
        return Promise.reject(error)
    }
)

// 获取 token
function GetToken() {
    const token = localStorage.getItem('token')
    const now = new Date().getTime() / 1000
    if (token && token.expires_at > now) {
        return token.token
    }
    return null
}

// scrf-cookie
const GetCsrfCookie = () => {
    return axios.get('csrf-cookie')
}

// 登录
const Login = (data) => {
    return axios.post('login', data)
}

// 注册
const Register = (data) => {
    return axios.post('register', data)
}

export {
    GetCsrfCookie,
    Login,
    Register
}
然后就可以在 register.vue 中用起来了
import { ref, reactive, onMounted } from 'vue'
import { Register } from '@/api/request.js'


…
onMounted(() => {
    Register(null).then()
})
当然,这样肯定是有问题的。一个是跨域,另外一个也是不符合服务端 Sanctum 认证的场景的。默认进来必须先进行一个 csrf-cookie 请求。再进行登录或注册的逻辑。
为了更贴合服务端的请求。我们将 base 设置为 admin,并且将 vue-router 的base也设置成 admin。
# vite.config.js
export default defineConfig({
  base: '/admin',
  build: {
    outDir: 'admin'
  },
  …


# router/index.js
const router = createRouter({
  history: createWebHistory(import.meta.env.BASE_URL),
  base: '/admin/',
  routes: [
  …
于是,访问的地址就变成:http://ypb2.com/admin/
这样在 vite 这里是可以的。但是在 nginx 那边就不行。打开页面再刷新就找不到资源了。对 nginx 也需要配置。这里先配置好。
cd /etc/nginx/sites-enabled

sudo vim ypb2.com

# 添加下边的配置
    location ~* ^\/admin\/((?!api\/).) {
        try_files $uri $uri/ /admin/index.html;
    }

# 重启 nginx
sudo nginx -s reload
这个配置很重要的哈。到此,算是前端打包的配置完成。git 版本控制中将 admin 目录设置为忽略。提交版本控制。
git add .
git commit -m '配置输出文件夹,路由前缀等'