服务端 admin/api 的注册登录逻辑处理。
开始
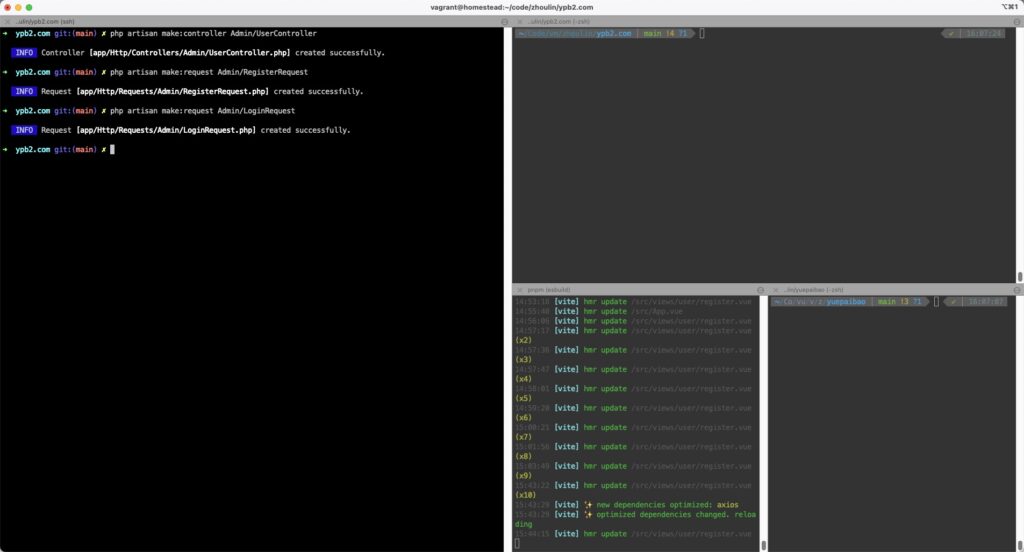
先创建基本的控制器和Request文件。
php artisan make:controller Admin/UserController

php artisan make:request Admin/AdminRequest

php artisan make:request Admin/RegisterRequest

php artisan make:request Admin/LoginRequest
我们先把 request 完成起来。 AdminRequest 作为其他 Request 的父类,需要做两件事。
一是 authorize 永远返回 true。这个是给接口用的,不是网页自己用。没必要去验证通过。验证的逻辑会在路由和中间件中完成。
二是重写 failedValidation 方法。默认的 failedValidation 会发起重定向。这里是接口,也是不需要的。
所以 AdminRequest.php 是这个样子。
<?php

namespace App\Http\Requests\Admin;

use Illuminate\Foundation\Http\FormRequest;
use Illuminate\Contracts\Validation\Validator;
use Illuminate\Validation\ValidationException;
use Illuminate\Http\Exceptions\HttpResponseException;
use Illuminate\Http\JsonResponse;

class AdminRequest extends FormRequest
{
    public function authorize(): bool
    {
        return true;
    }

    protected function failedValidation(Validator $validator)
    {
        throw new HttpResponseException(response()->json([
            'error' => (new ValidationException($validator))->errors()
        ], JsonResponse::HTTP_UNPROCESSABLE_ENTITY));
    }
}
再看其他 request。
#LoginRequest

<?php

namespace App\Http\Requests\Admin;

class LoginRequest extends AdminRequest
{
    public function rules(): array
    {
        return [
            'email' =>  ['required', 'string', 'email', 'max:255'],
            'password' => ['required', 'string', 'min:8'],
        ];
    }

    public function messages()
    {
        return [];
    }

    public function attributes()
    {
        return [
            'email' => '邮箱',
            'password' => '密码'
        ];
    }
}

# RegisterRequest

<?php

namespace App\Http\Requests\Admin;

class RegisterRequest extends AdminRequest
{
    public function rules(): array
    {
        return [
            'name' => ['required', 'string', 'max:255'],
            'email' =>  ['required', 'string', 'email', 'max:255', 'unique:users'],
            'password' => ['required', 'string', 'min:8'],
        ];
    }

    public function messages()
    {
        return [];
    }

    public function attributes()
    {
        return [
            'name' => '称呼',
            'email' => '邮箱',
            'password' => '密码'
        ];
    }
}
在 UserController.php 中创建登录注册接口。
<?php

namespace App\Http\Controllers\Admin;

use App\Http\Controllers\Controller;
use App\Http\Requests\Admin\LoginRequest;
use App\Http\Requests\Admin\RegisterRequest;
use Illuminate\Support\Facades\Hash;
use Illuminate\Support\Facades\Auth;
use App\Models\User;

use Illuminate\Http\Request;

class UserController extends Controller
{
    public function login(LoginRequest $request)
    {
        $data = $request->only(['email', 'password']);

        $remember = true;

        if (Auth::attempt($data, $remember)) {
            $user = auth()->user();
            return response()->json($user);
        } else {
            return response()->json(['message' => '账号或密码错误'], 403);
        }
    }

    public function register(RegisterRequest $request)
    {
        $data = $request->only(['name', 'email', 'password']);

        $data['password'] = Hash::make($data['password']);

        $user = User::create($data);

        Auth::guard()->login($user);

        return response()->json($user);
    }
}
最后,看看路由。
<?php

use Illuminate\Support\Facades\Route;
use App\Http\Controllers\Admin\UserController;

// 登录
Route::post('login', [UserController::class, 'login'])->name('admin.api.login');

// 注册
Route::post('register', [UserController::class, 'register'])->name('admin.api.register');
csrf-token 路由是 Sanctum 自己提供的。我们只需要再 config/sanctum.php 中配置上前缀就好。
    …
    'prefix' => 'admin/api'
到了这里,服务端的逻辑算是好了。现在用之前创建的 vue 项目来测试登录注册接口。
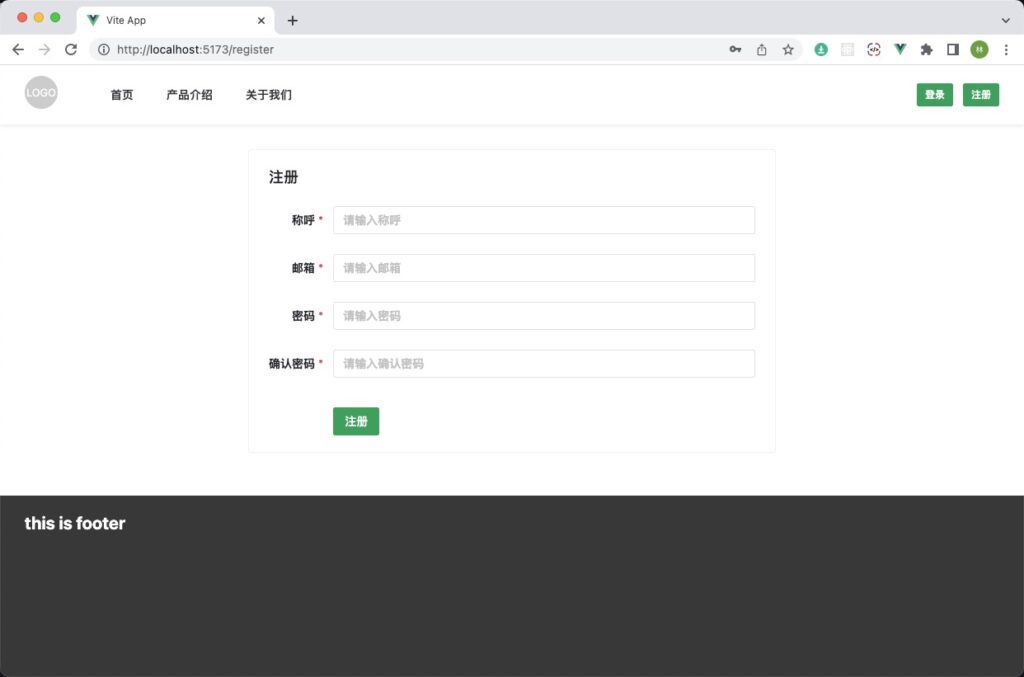
我们先从简单的入手。那就是登录。登录页面和注册页面很香香。是这样子的。
<template>
    <div class="container">
        <div class="form-wrap">
            <n-card title="登录">
                <n-form
                    ref="formRef"
                    :model="model"
                    :rules="rules"
                    label-placement="left"
                    label-width="auto"
                    require-mark-placement="right-hanging"
                    :style="{
                        maxWidth: '640px'
                    }">
                    <n-form-item label="邮箱" path="email">
                        <n-input v-model:value="model.email" :placeholder="rules.email.message" />
                    </n-form-item>
                    <n-form-item label="密码" path="password">
                        <n-input type="password" v-model:value="model.password" :placeholder="rules.password.message" />
                    </n-form-item>
                    <n-form-item label=" " :show-feedback="false" class="login-item">
                        <n-button strong type="primary" @click="submit">登录</n-button>
                    </n-form-item>
                </n-form>
            </n-card>
        </div>
    </div>
</template>

<script setup>
import { ref, reactive } from 'vue'
import { useRouter } from 'vue-router'
import { GetCsrfCookie, Login } from '@/api/request.js'

const router = useRouter()

const formRef = ref(null)

const model = reactive({
    email: null,
    password: null
})

const rules = {
    email: {
        required: true,
        trigger: ['blur', 'input'],
        message: '请输入邮箱'
    },
    password: {
        required: true,
        trigger: ['blur', 'input'],
        min: 8,
        message: '请输入密码'
    }
}

const submit = () => {
    formRef.value
        ?.validate((errors) => {
            if (errors) {
                console.error(errors)
            }
        })
        .then(() => {
            doLogin()
        })
}

const doLogin = () => {
    GetCsrfCookie(null).then(() => {
        Login({ email: model.email.trim(), password: model.password.trim() }).then(() => {
            // 登录完成,就跳转到首页吧
            router.push({ name: 'home' })
        })
    })
}
</script>

<style lang="scss" scoped>
.container {
    display: flex;
    justify-content: center;

    .form-wrap {
        display: flex;
        margin: 30px 0;
        min-width: 640px;
    }

    .login-item {
        margin-top: 12px;
    }
}
</style>
好了,我们打个包,试一试。
pnpm run build
然后将打包好的 admin 这个文件夹移动到 laravel 项目的 public 下。
浏览器访问:http://ypb2.com/admin/
ok,显示正常。然后刷新也是没有问题的。再点点登录注册。也可以。好吧,那来登录吧。因为之前通过 laravel 已经注册过一个账号了,就用那个账号登录。
演示如下图:

通过这个可以看到 vue 编写的 spa 页面和 laravel 自己的页面,共同持有 cookie。保证了登录的一致性。
这样做的目的就是想 laravel 的页面是官网。 vue 写的是后台。后台和官网有各自的特点。也有对应的方式去实现(后台用 vue、react 这样实现起来比较好)。
到了这里,还不算完成。虽然 vue 页面登录了。但是对登录的用户信息没有保存处理。下一步,就是对登录的信息进行保存处理。