
分类目录
不科学上网的操作
依次访问:
找到 DNS Resource Records 下的 ip 地址。依次加入到 hosts 中。
# mac 的
sudo vim /etc/hosts

140.82.113.4 github.com
151.101.1.194 github.global.ssl.fastly.net
这样再提交代码,估计就可以了。至少我试过是可以了的。
不行,刷新 DNS 缓存试试。
sudo killall -HUP mDNSResponder参考
对于 github 这类服务,一个 ssh-key 只允许添加一次。也就是你在 a 账号添加了 ssh-key,再想用这个 ssh-key 添加到 b 账号是不行的。这个时候,就需要在该 ssh-key 的电脑上生成新的 ssh-key 来满足多账号的需求。
那么问题也来了,这就需要每次都要指定 git 项目对应的 ssh-key。方法自然是有的。方法有好几个,只用最方便的吧。
生成 ssh-key
指定 ssh-key
假如按照上边的操作,生成了 ssh-key,也将其公钥添加到配置中了。那么只需要指定当前所使用的 ssh-key 就可以了。
# 添加
ssh-add ~/.ssh/ssh-key-私钥

# 查看
ssh-add -l

# 删除
ssh-add -d  ~/.ssh/ssh-key-私钥
这样就可以使用 git 来操作代码了。 clone push pull 都是可以的。
不过,这个电脑重启后,就失效了。还是会使用默认的 ssh-key
ssh-add 错误
执行 ssh-add xxx 的时候也许不是顺利的。可能会有下边的报错。
Could not open a connection to your authentication agent.。
解决:
先看看 ssh 代理是否在运行。 ssh-agent -s。如果没运行,启动它。如果运行了,看 SSH_AUTH_SOCK 环境变量是否存在。echo $SSH_AUTH_SOCK
如果出现上边那个错误,走到这里了,应该是不存在的,也就是输出为空格。那么重新启动 ssh 代理。再回过去检查。
eval "$(ssh-agent -s)"通过文字输入,输出视频+语音虚拟形象输出。可以尝试尝试。
使用微软 Speech Studio
样例
https://speech.microsoft.com/portal/talkingavatar
训练声音
https://speech.microsoft.com/portal/customvoice/overview
精简版训练
https://learn.microsoft.com/zh-cn/azure/ai-services/speech-service/custom-neural-voice-lite
申请授权
https://speech.microsoft.com/portal/customvoice/accessrequirement
通过 git 的方式,很难下载到 huggingface。于是就网上找方法,还真找到了方法。
https://zhuanlan.zhihu.com/p/663712983
上边链接总结了多种方法。这里,只选他说的最好用的方法,使用 huggingface-cli。不做选择其他选择。这里是尝试快速下载过模型。
准备
- 科学上网
- 该有的 python 环境
操作
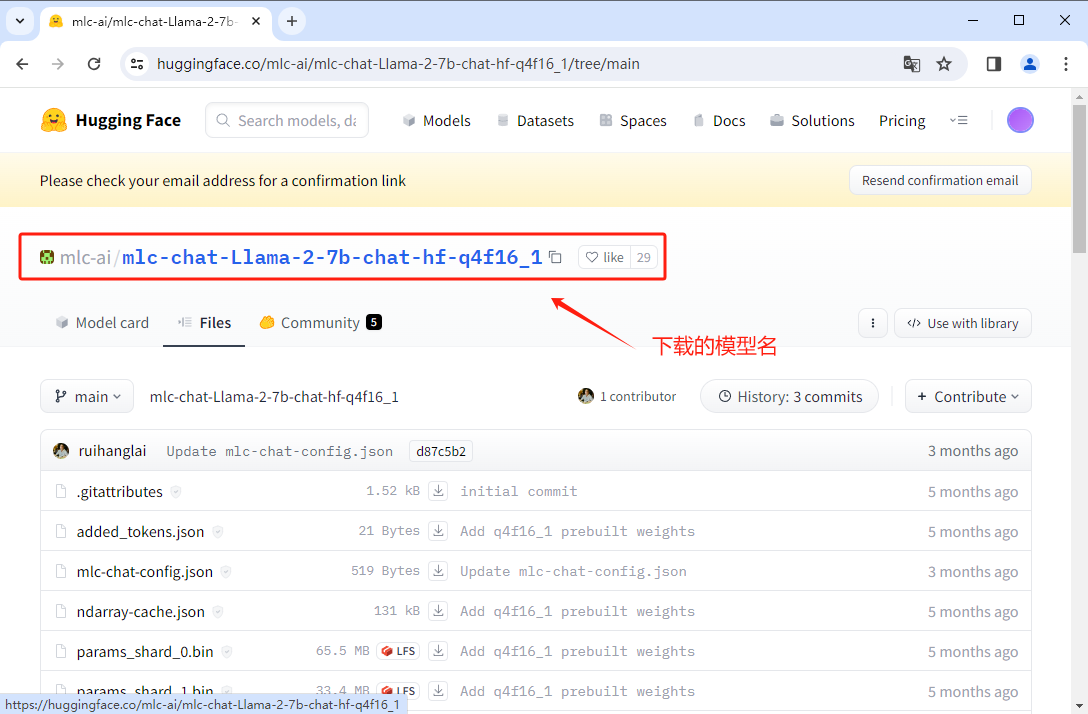
以下载 https://huggingface.co/mlc-ai/mlc-chat-Llama-2-7b-chat-hf-q4f16_1/tree/main 模型为例。
打开终端
# 安装 huggingface-cli
pip install -U huggingface_hub
# 使用
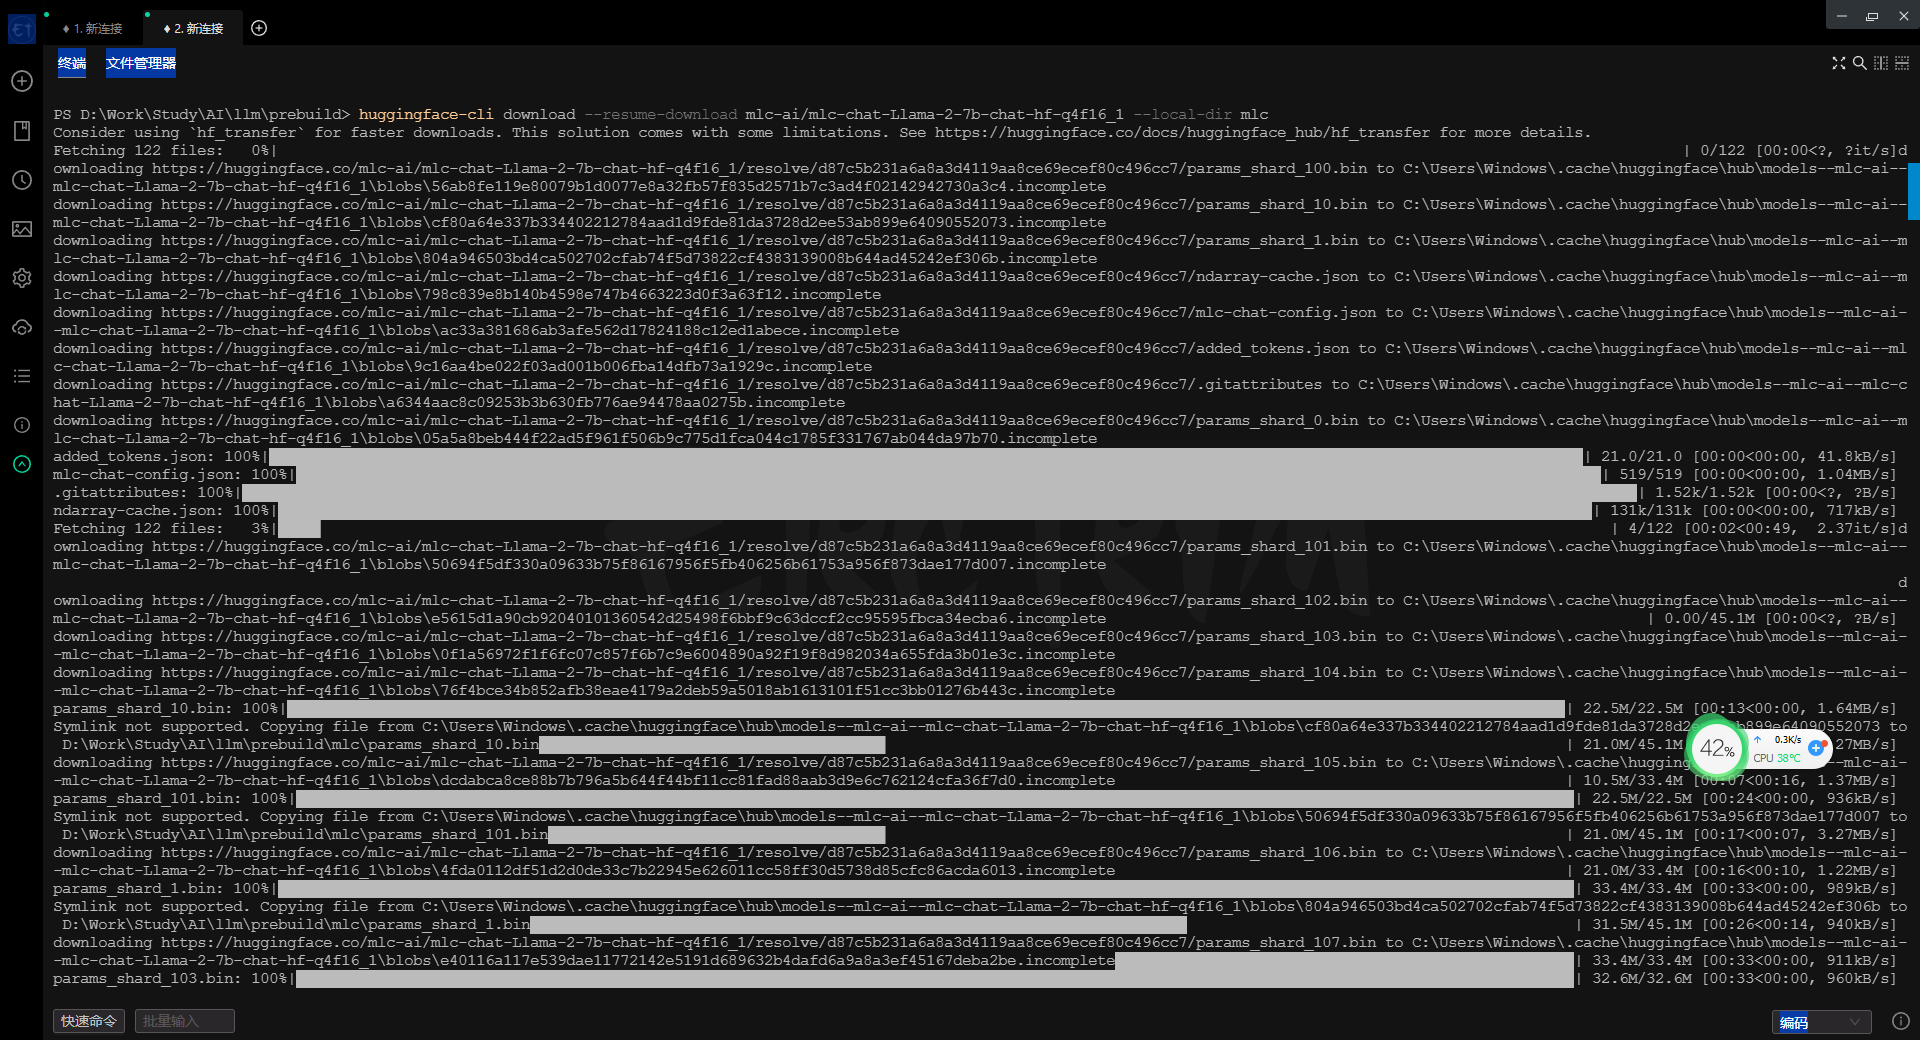
# --resume-download 要下载的模型名
# --local-dir 下载保存的位置
huggingface-cli download --resume-download mlc-ai/mlc-chat-Llama-2-7b-chat-hf-q4f16_1 --local-dir mlc好了,仅仅这样就好了。下载速度还是很快的,也有进度条。
win 的终端终究没 mac 的 iterm2 好用。不过 win 的进步速度比 mac 快多了。感觉 mac 几乎在吃老本。在多显示器的快捷键操作上,win 的体验却要比 mac 好。仅有一点 win 比 mac 差,就是多显示器中,某个显示器内的窗口切换。 win 会将所有的显示器都切换了,mac 会针对选择的显示器进行切换。
python 环境处理。 ERROR: Could not find a version that satisfies the requirement torch (from llama) (from versions: none)
参考阅读
https://download.pytorch.org/whl/torch/
https://pytorch.org/get-started/locally/
https://blog.csdn.net/qq_44832009/article/details/129351554
记录一些问题
- 通过 docker-comppse.yml 配置多个服务(有 php,nginx,mysql 等),并运行。如果在 php 的 bash 中访问使用 nginx 或 mysql 这些服务呢。
当前,在项目中,无法通过 127.0.0.1 来连接 mysql 容器中的 mysql。可以通过修改 手动 修改 ip 的方式来搞定。
# 查看当前容器的 ip
ip addr

# php 和其他容器公用宿主机的 ip 修改项目中连接 mysql 的 ip 得到
172.19.0.1
docker php 安装 mysql_pdo 扩展
docker exec -it xxx bash

# 安装 pdo pdo_mysql 扩展
docker-php-ext-install pdo pdo_mysql

# 安装 mysqli 扩展
docker-php-ext-install mysqli

# 退出 重启 (xxx 容器 id)
exit
docker restart xxx
bash: ip: command not found
# 进入容器中
apt-get update

apt-get install -y iproute2

# 这个时候就有了
ip addr show
文章
https://www.jianshu.com/p/2217cfed29d7
https://blog.csdn.net/longfeng995/article/details/130704949
https://ricen.eu.org/index.php?control=doc&view=detail&id=326&i=1
常见命令一
# docker 信息
docker info
docker version

# 查看镜像
docker images

# 运行一个镜像
# --name 别名
# -p 端口映射( 宿主机端口:容器服务端口 )
# -d 以守护进程的方式运行(不加就会卡住占用窗口)
docker run --name my-nginx -d -p 80:80 nginx

# 查看活着的容器
docker ps

# 查看活所有容器
docker ps -a

# 停止容器
docker stop xxx

# 启动一个关闭的容器
docker start xxx

# 查看容器状态
docker stats

# 进入容器(以bash的形式进行交互模式)
docker exec -it xxx bash

# 退出容器(容器依然在运行)
exit

# 重启容器 (xxx 为容器 id 的前三个字符即可)
docker restart xxx

# 删除容器 (删除前需先停止)
docker rm xxx

# 删除镜像
docker rmi nginx