7月
12
A VirtualBox machine with the name 'homestead' already exists.
Please use another name or delete the machine with the existing
name, and try again.
Do
之前在mac上安装laravel/homestead vagrant虚拟机环境时由于参照的教程是: 每次都必须在~/Homestead目录下边运行vagrant up/halt命令,觉得实在是不方便,于是乎按照另外一个教程(在任何目录下可以通过homestead up来启动虚拟机)来配置环境,但是当键入homestead up时,却报出
==> default: Importing base box 'laravel/homestead'...
==> default: Matching MAC address for NAT networking...
A VirtualBox machine with the name 'homestead' already exists.
Please use another name or delete the machine with the existing
name, and try again.
这样的错误
stackoverflow上好几个人说通过vagrant global-status 查看虚拟器,然后在vagrant destroy {id}删除对应名称的虚拟机可以解决问题,但是重复n遍homestead up或者到~/Homestead下运行vagrant up之后,还是会报出上边的错误,后来通过VBoxManage list vms获取虚拟机列表,然后在通过运行
VBoxManage unregistervm homestead --delete
之后,重新运行homestead up之后 一切回归正常
参考
https://www.cnblogs.com/huangye-dream/p/4604973.html
7月
06
安装 element-plus
https://element-plus.org/zh-CN/guide/installation.html
pnpm install element-plus
配置按需引入
首先安装 unplugin-vue-components 和 unplugin-auto-import 这两款插件。
pnpm add -D unplugin-vue-components unplugin-auto-import
编辑 vite.config.ts,添加以下配置。
import { defineConfig } from 'vite'
import AutoImport from 'unplugin-auto-import/vite'
import Components from 'unplugin-vue-components/vite'
import { ElementPlusResolver } from 'unplugin-vue-components/resolvers'

export default defineConfig({
  // ...
  plugins: [
    // ...
    AutoImport({
      resolvers: [ElementPlusResolver()],
    }),
    Components({
      resolvers: [ElementPlusResolver()],
    }),
  ],
})
继续阅读
7月
05
只是想用 vue3 + ts + element-plus 技术栈做一个后台管理系统。ui 组件库蛮多的,还是觉得各个方面 element-plus 都不错,就选它。还有一些其他的插件比如 tailwindcss,echarts 等。不想那么咋,就先不用。echarts 后边肯定是会用上。
https://cn.vuejs.org/guide/introduction.html
https://element-plus.org/zh-CN/#/zh-CN
功能点
- 多语言(可有可无)
- 多主题(这个还是得搞上)
- loading
- api 请求
- 动画
- 动态路由(路由全部由接口产生)
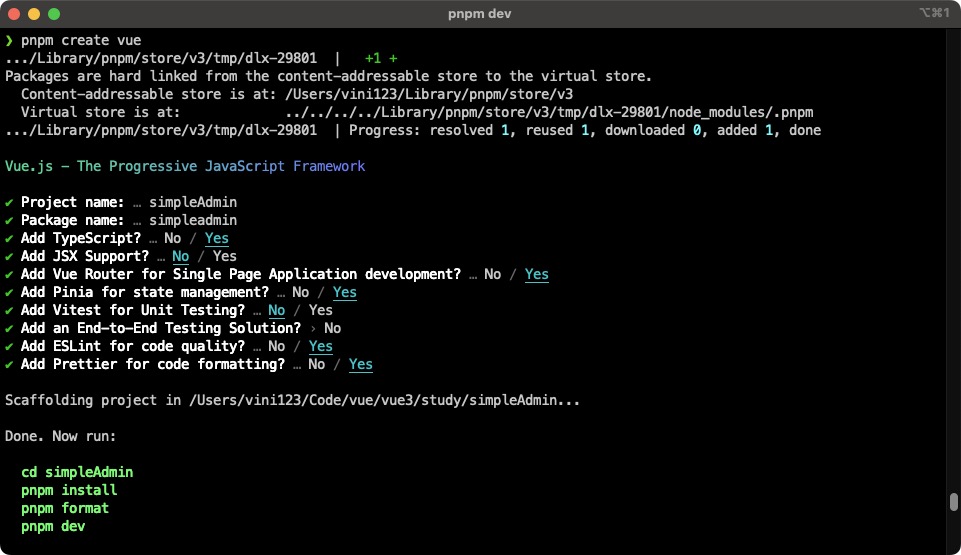
开始吧
# 创建项目
pnpm create vue

# 项目名称 simpleAdmin
# 选择使用 ts
# 选择 vue router
# 选择 pinia
# 选择 eslint
# 选择 prettier format code
# 其他我都不要
继续阅读
7月
04
# 在 mysql 中,先查询出 sql_mode
show variables like 'sql_mode';

# 编辑修改
sudo vim /etc/mysql/mysql.conf.d/mysqld.cnf

# 没有就追加,有就修改
# 先备份一个全的
# sql_mode=ONLY_FULL_GROUP_BY,STRICT_TRANS_TABLES,NO_ZERO_IN_DATE,NO_ZERO_DATE,ERROR_FOR_DIVISION_BY_ZERO,NO_ENGINE_SUBSTITUTION

sql_mode =这里你填需要的

# 重启
sudo service mysql restart