
操作
- 设置主机名。
- 设置 ssh 连接一段时间后,断开的问题。
- 自定义用户,禁用 root 用户登录(使用普通用户登录,并使用公钥登录)。
- 安装 docker 环境。
# 先安装依赖
yum install -y yum-utils device-mapper-persistent-data lvm2

# 添加阿里云仓库
yum-config-manager --add-repo http://mirrors.aliyun.com/docker-ce/linux/centos/docker-ce.repo

# 安装
yum -y install docker-ce

# 启动
systemctl start docker

# 设置开机自启动
systemctl enable docker

# docker info
再来安装 docker-compose
打开 https://github.com/docker/compose/tags 选择想要的版本,点击进去。
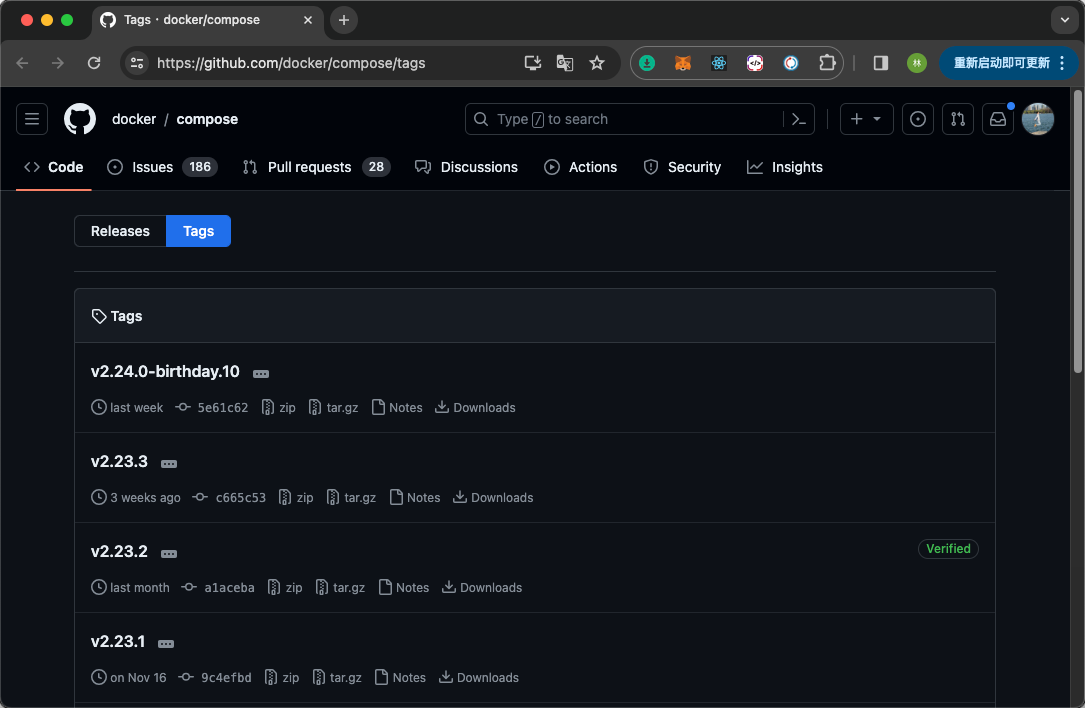
https://github.com/docker/compose/releases/tag/v2.23.3
选择对应系统的文件,我这里选择的是 docker-compose-linux-x86_64
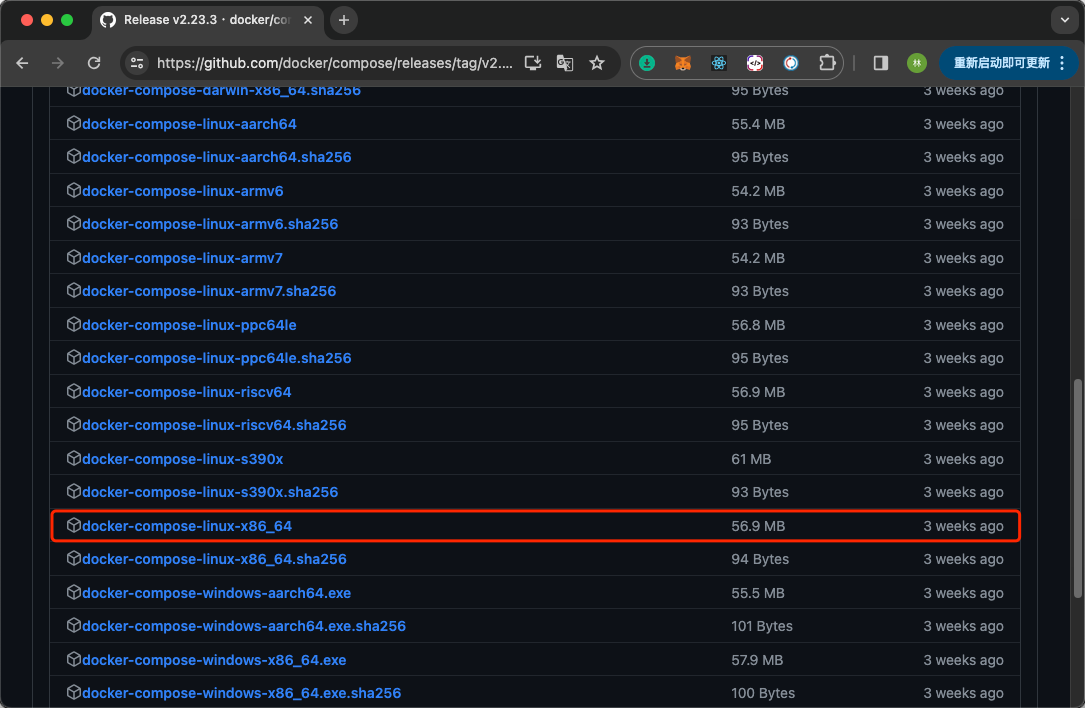
cd /usr/local/src

wget  https://github.com/docker/compose/releases/download/v2.23.3/docker-compose-linux-x86_64

mv docker-compose-linux-x86_64 /usr/local/bin/docker-compose

chmod +x /usr/local/bin/docker-compose

docker-compose --version如果你已经安装了旧版本的 Docker,首先卸载旧版本:
sudo apt remove docker docker-engine docker.io containerd runcsudo apt update
sudo apt install -y apt-transport-https ca-certificates curl software-properties-commoncurl -fsSL https://download.docker.com/linux/ubuntu/gpg | sudo gpg --dearmor -o /usr/share/keyrings/docker-archive-keyring.gpgecho "deb [arch=amd64 signed-by=/usr/share/keyrings/docker-archive-keyring.gpg] https://download.docker.com/linux/ubuntu $(lsb_release -cs) stable" | sudo tee /etc/apt/sources.list.d/docker.list > /dev/nullsudo apt update
sudo apt install -y docker-ce docker-ce-cli containerd.io运行以下命令验证 Docker 是否正确安装:
sudo docker run hello-world为了避免在每次运行 Docker 命令时都需要使用 sudo,可以将当前用户添加到 docker 用户组:
sudo usermod -aG docker $USER请注意,在更改用户组后,你可能需要注销并重新登录才能使更改生效。
sudo curl -L "https://github.com/docker/compose/releases/latest/download/docker-compose-$(uname -s)-$(uname -m)" -o /usr/local/bin/docker-composesudo chmod +x /usr/local/bin/docker-composedocker-compose --version通过 docker 客户端工具。点击设置->Docker Engine。增加以下配置。
{
  …,
  "registry-mirrors": [
    "https://registry.docker-cn.com",
    "http://hub-mirror.c.163.com",
    "https://docker.mirrors.ustc.edu.cn"
  ]
}
点击 Apply & Restart 按钮,保存并重启。
# 查看
docker info
感觉用了镜像速度也那样。
在自己的服务器环境使用语音转视频,需要配置 ice server。而这个玩意先得创建通信资源。创建通信资源,在后台就可以实现。ice server 可以使用编程语言去获取。
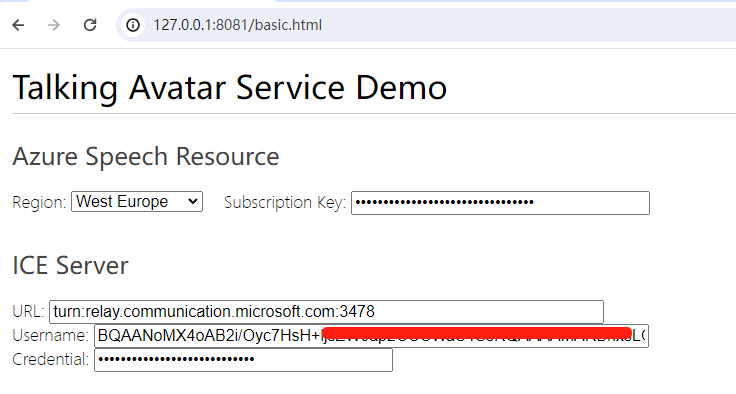
这里以 python 来获取。只需要准备好连接字符串(endpoint)就好,这个就是需要去后台创建通信资源。
# issue-relay-tokens.py
from azure.communication.networktraversal import CommunicationRelayClient
from azure.identity import DefaultAzureCredential
from azure.communication.identity import CommunicationIdentityClient

# You can find your endpoint and access token from your resource in the Azure Portal
connection_str = "endpoint=https://xxxx.communication.azure.com/;accesskey=xxxx"
endpoint = "https://xxxx.communication.azure.com/"

# To use Azure Active Directory Authentication (DefaultAzureCredential) make sure to have
# AZURE_TENANT_ID, AZURE_CLIENT_ID and AZURE_CLIENT_SECRET as env variables.
# We also need Identity client to get a User Identifier
# identity_client = CommunicationIdentityClient(endpoint, DefaultAzureCredential())
# relay_client = CommunicationRelayClient(endpoint, DefaultAzureCredential())

#You can also authenticate using your connection string
identity_client = CommunicationIdentityClient.from_connection_string(connection_str)
relay_client = CommunicationRelayClient.from_connection_string(connection_str)

identity_client.create_user()

relay_configuration = relay_client.get_relay_configuration()

for iceServer in relay_configuration.ice_servers:
    assert iceServer.username is not None
    print('Username: ' + iceServer.username)

    assert iceServer.credential is not None
    print('Credential: ' + iceServer.credential)

    assert iceServer.urls is not None
    for url in iceServer.urls:
        print('Url:' + url)
执行 python .\issue-relay-tokens.py,如果配置都正确,就会得到 ice 相关信息。
Username: xxx1
Credential: cre1
Url:stun:relay.communication.microsoft.com:3478
Url:turn:relay.communication.microsoft.com:3478
Username: xxx2
Credential: cre2
Url:stun:20.202.255.225:3478
Url:turn:20.202.255.225:3478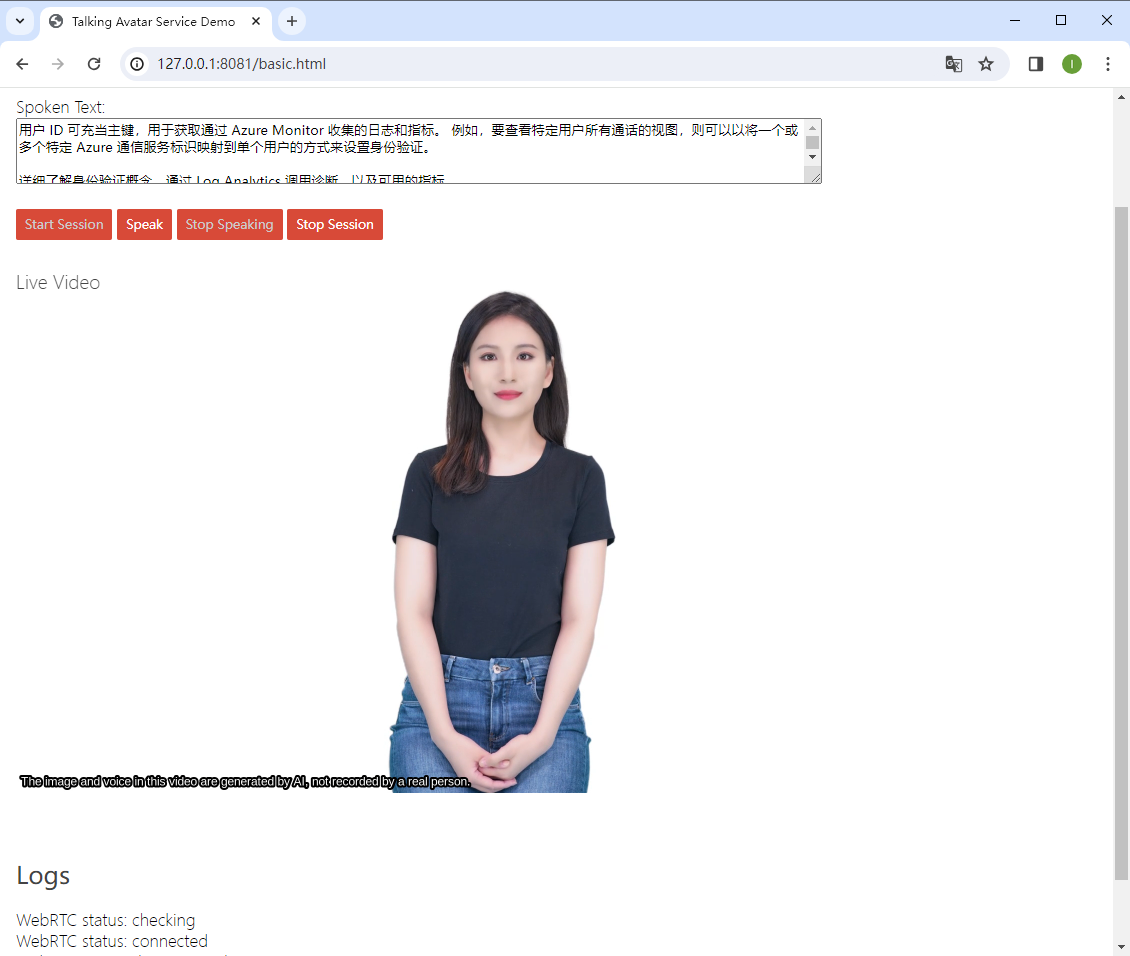
通过文字输入,输出视频+语音虚拟形象输出。可以尝试尝试。
样例
https://speech.microsoft.com/portal/talkingavatar
训练声音
https://speech.microsoft.com/portal/customvoice/overview
精简版训练
https://learn.microsoft.com/zh-cn/azure/ai-services/speech-service/custom-neural-voice-lite
申请授权
https://speech.microsoft.com/portal/customvoice/accessrequirement
通过 git 的方式,很难下载到 huggingface。于是就网上找方法,还真找到了方法。
https://zhuanlan.zhihu.com/p/663712983
上边链接总结了多种方法。这里,只选他说的最好用的方法,使用 huggingface-cli。不做选择其他选择。这里是尝试快速下载过模型。
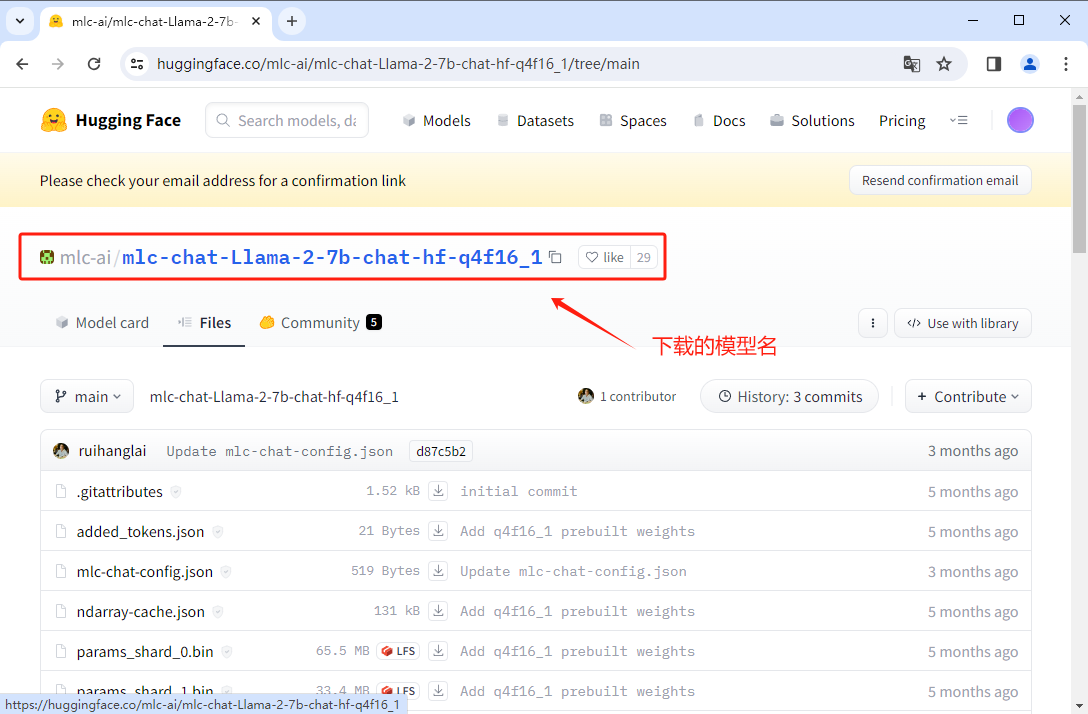
以下载 https://huggingface.co/mlc-ai/mlc-chat-Llama-2-7b-chat-hf-q4f16_1/tree/main 模型为例。
打开终端
# 安装 huggingface-cli
pip install -U huggingface_hub
# 使用
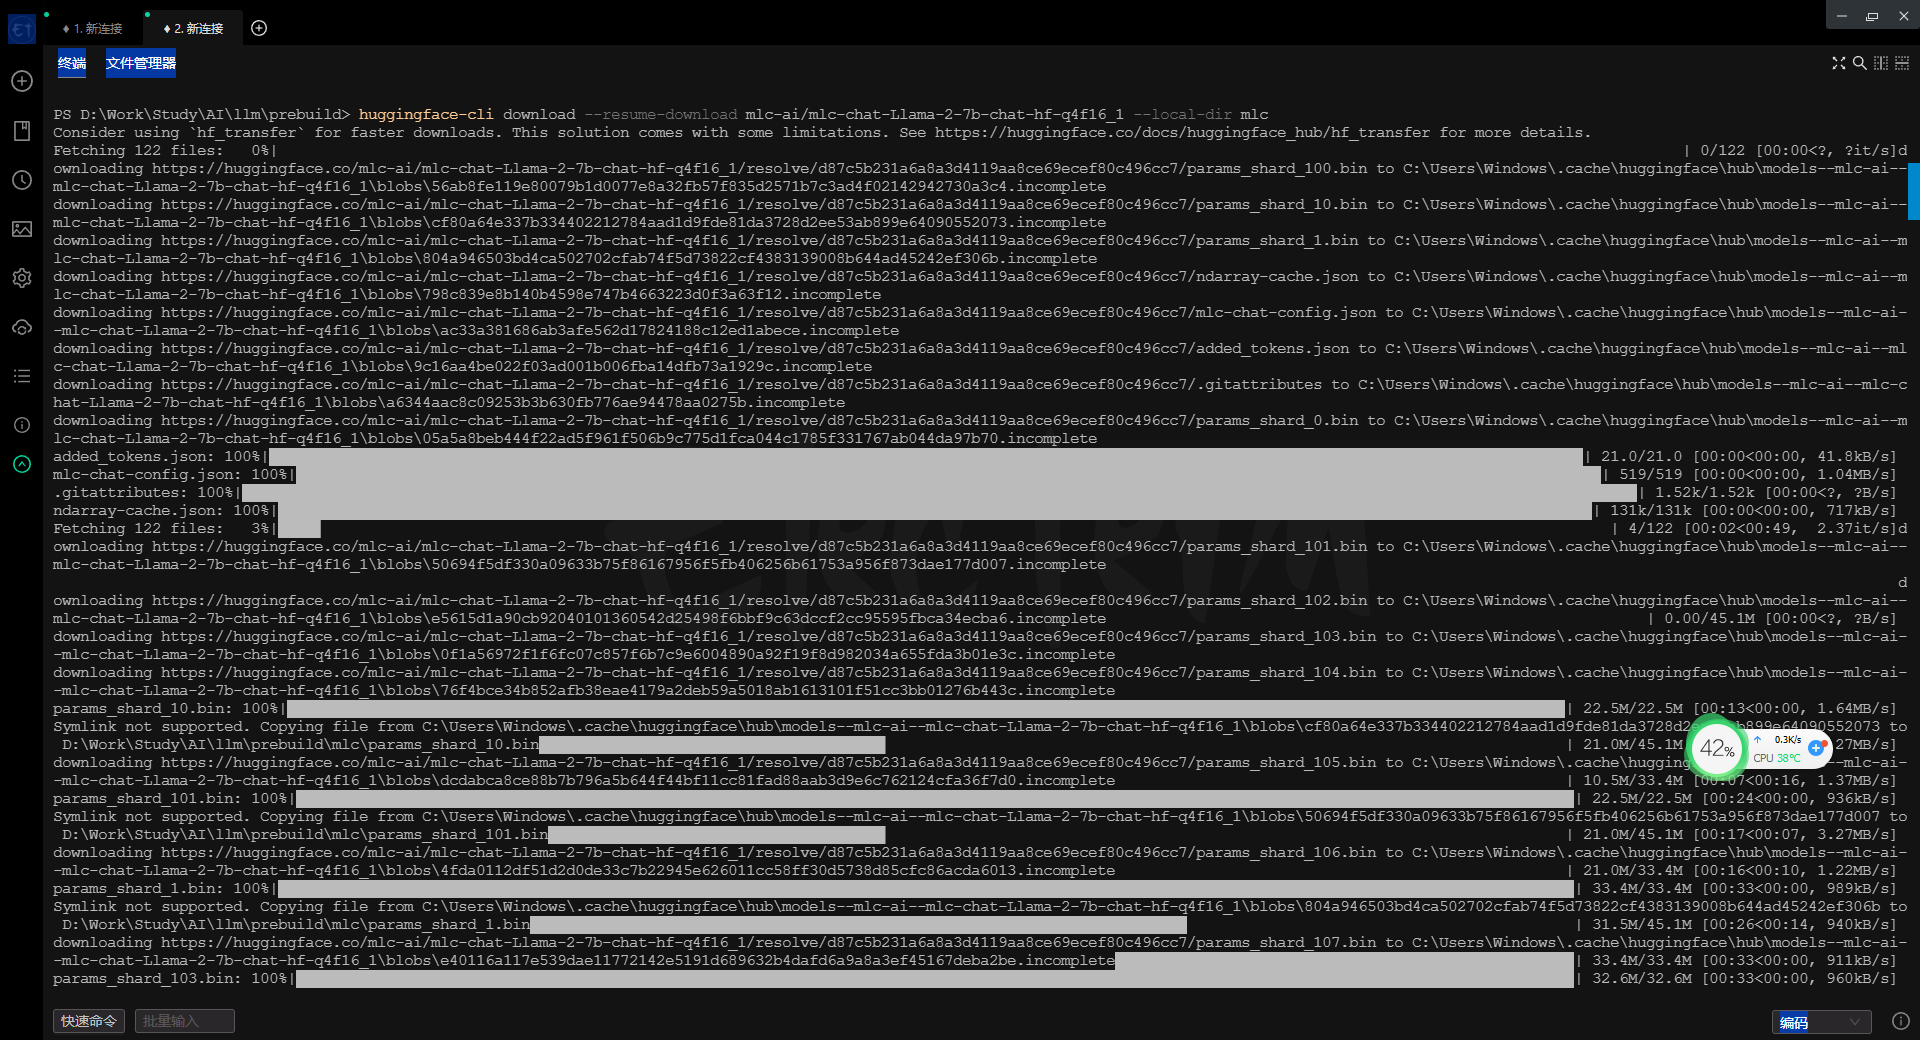
# --resume-download 要下载的模型名
# --local-dir 下载保存的位置
huggingface-cli download --resume-download mlc-ai/mlc-chat-Llama-2-7b-chat-hf-q4f16_1 --local-dir mlc好了,仅仅这样就好了。下载速度还是很快的,也有进度条。
win 的终端终究没 mac 的 iterm2 好用。不过 win 的进步速度比 mac 快多了。感觉 mac 几乎在吃老本。在多显示器的快捷键操作上,win 的体验却要比 mac 好。仅有一点 win 比 mac 差,就是多显示器中,某个显示器内的窗口切换。 win 会将所有的显示器都切换了,mac 会针对选择的显示器进行切换。
hf_transfer 依附并兼容 huggingface-cli,是 hugging face 官方专门为提高下载速度基于 Rust 开发的一个模块
安装: pip install -U hf-transfer
开启(linux/mac): export HF_HUB_ENABLE_HF_TRANSFER = 1
开启(win): $env:HF_HUB_ENABLE_HF_TRANSFER = 1
使用: huggingface-cli download --resume-download mlc-ai/mlc-chat-Llama-2-7b-chat-hf-q4f16_1 --local-dir mlc
python 环境处理。 ERROR: Could not find a version that satisfies the requirement torch (from llama) (from versions: none)
https://download.pytorch.org/whl/torch/
https://pytorch.org/get-started/locally/
https://blog.csdn.net/qq_44832009/article/details/129351554
docker 的确是个好东西。该早一点就用起来。当下还在熟悉和练习中。
渐渐去丰富和完善。
.env
# 时区
TZ=Asia/Shanghai

# 项目对应文件夹
SOURCE_DIR=./www

# nginx https://nginx.org/
NGINX_NAME=nginx
NGINX_VERSION=1.25.3
NGINX_HTTP_HOST_PORT=80
NGINX_HTTPS_HOST_PORT=443
NGINX_CONFD_DIR=./conf/nginx/conf.d
NGINX_CONF_FILE=./conf/nginx/nginx.conf
NGINX_SSL_CERTIFICATE_DIR=./conf/nginx/ssl
NGINX_LOG_DIR=./logs/nginx

# php8.3
PHP_LOG_DIR=./logs/php8.3

# mysql
MYSQL_DATA=./data/mysql8.2-data
MYSQL_PORT=3306

# redis
REDIS_PORT=6379当前,在项目中,无法通过 127.0.0.1 来连接 mysql 容器中的 mysql。可以通过修改 手动 修改 ip 的方式来搞定。
# 查看当前容器的 ip
ip addr

# php 和其他容器公用宿主机的 ip 修改项目中连接 mysql 的 ip 得到
172.19.0.1
docker exec -it xxx bash
# 安装 pdo pdo_mysql 扩展
docker-php-ext-install pdo pdo_mysql
# 安装 mysqli 扩展
docker-php-ext-install mysqli
# 退出 重启 (xxx 容器 id)
exit
docker restart xxx# 进入容器中
apt-get update
apt-get install -y iproute2
# 这个时候就有了
ip addr showhttps://www.jianshu.com/p/2217cfed29d7
https://blog.csdn.net/longfeng995/article/details/130704949
https://ricen.eu.org/index.php?control=doc&view=detail&id=326&i=1