
将 web 项目打包成桌面应用程序是一种常见的方式。用到的工具有 electron 和 tauri 等。这里使用 tauri。
准备工作
- 安装配置 tarui 环境。 https://tauri.app/zh-cn/v1/guides/getting-started/prerequisites
- 准备一个 web 项目。
tauri 是可以从零开始创建项目,然后去完善项目的。但是,有的时候,项目已经完成了,这个时候,就需要在项目中加入 tauri。然后再构建打包了。
开始
https://tauri.app/zh-cn/v1/guides/getting-started/setup/integrate
先去 github 上下一个曾经的 web 项目,并运行起来。如下图所示。
git clone https://github.com/vinistudy/autoImglist.git

cd autoImglist

pnpm install

pnpm dev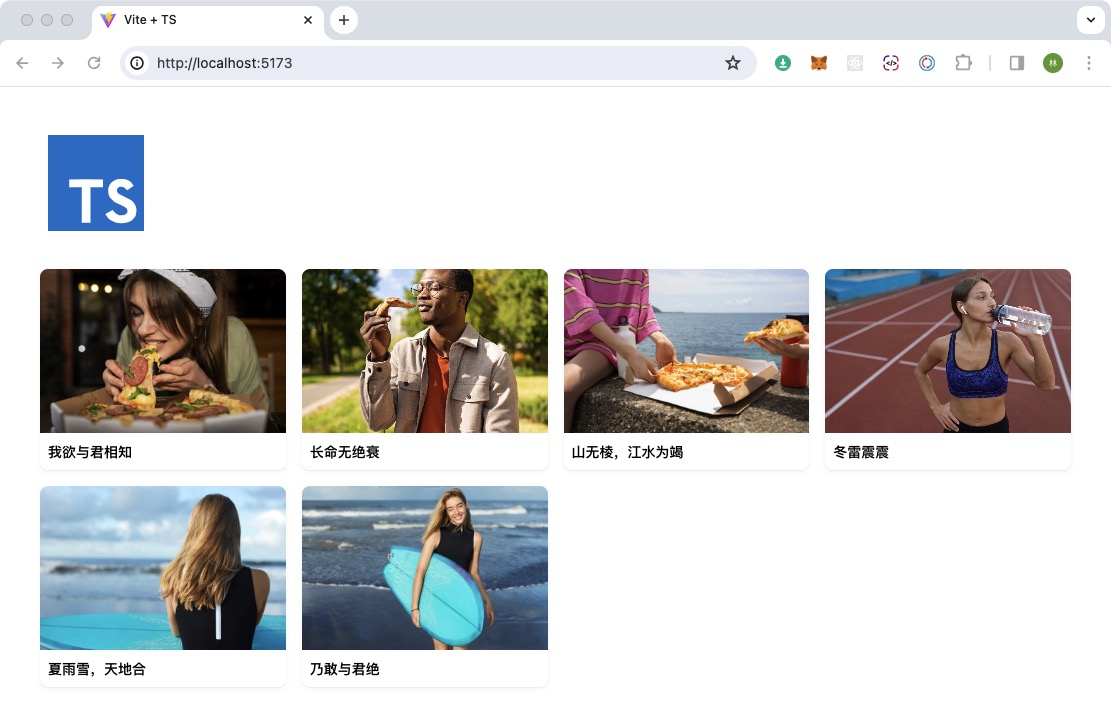
接着以此项目,为基础,构建 tauri 项目。
# 既然是第二次,这里我新建一个分支来搞
git checkout -b tauri

# 安装 tauri cli
pnpm add -D @tauri-apps/cli

# 生成配置 tauri 项目
pnpm tauri init
它会问你一些问题,依次敲入即可。 像下边这样。
❯ pnpm tauri init
✔ What is your app name? · imglist
✔ What should the window title be? · imglist
? Where are your web assets (HTML/CSS/JS) located, relative to the "<current dir>/src-tauri/tauri.conf.json" file that will be
✔ Where are your web assets (HTML/CSS/JS) located, relative to the "<current dir>/src-tauri/tauri.conf.json" file that will be created? · ../dist
✔ What is the url of your dev server? · http://localhost:5173
✔ What is your frontend dev command? · pnpm run dev
✔ What is your frontend build command? · pnpm run build这些,https://tauri.app/zh-cn/v1/guides/getting-started/setup/integrate 有说明。
好了,开始运行。
pnpm tauri dev先是把 web 项目构建好,再去构建 tauri 项目。构建 tauri 项目需要等待一些时间。
外观上看,就像是页面被放在一个盒子里。只是不是刚才的 chrome。 里边东西还是 web。应用程序窗口该有的功能也有,拖动,resize 都是可以。最大化,最小化都是可以。
仅仅就上边 3 个命令,就可以将 web 构建成桌面应用程序。不要太简单快捷了。虽然是这样,体验缺陷还是有的,比如默认窗口大小,托盘,菜单等都没细节化。对应桌面应用程序的能力也还没用上。现在仅仅是把 web 装在一个壳里。
终究是一个好的开始。
让 web 和 tauri 沟通起来
tauri 这端是 rust 写的。web 这边是 js 写的。 tauri 提供了函数可以供 web 这端来调用。
懒了,懒了,上边链接有介绍。懒得弄了。
打包发布
刚才 dev 的时候,已经看过效果了。窗口默认 800 * 600,太小了不好看。改改窗口大小。
tauri 的一些配置文件在 src-tauri/tauri.conf.json 里。在其 windows 节点中,我们可以修改 titile 和 默认窗口的宽高。
我喜欢 1280 * 720 ,这里就改成这样子的。
不喜欢出现标题,将 title 值设置成空字符串。就改这么多。
    "windows": [
      {
        "fullscreen": false,
        "resizable": true,
        "title": "",
        "width": 1280,
        "height": 720,
        "center": true
      }
    ]
下边开始打包。在打包前,先修改下 identifier。 这个也是在 tauri.conf.json 中,我改的值是。各位可以根据自己的域名和项目来定义。
"identifier": "com.vini123.autoimgs",打包吧。
pnpm tauri buildtauri 很智能,在 mac 下会打包成 app 和 dmg。在 win 下会打包成 exe 和那个啥。还有如果想更换图标。也可以去里边更换。
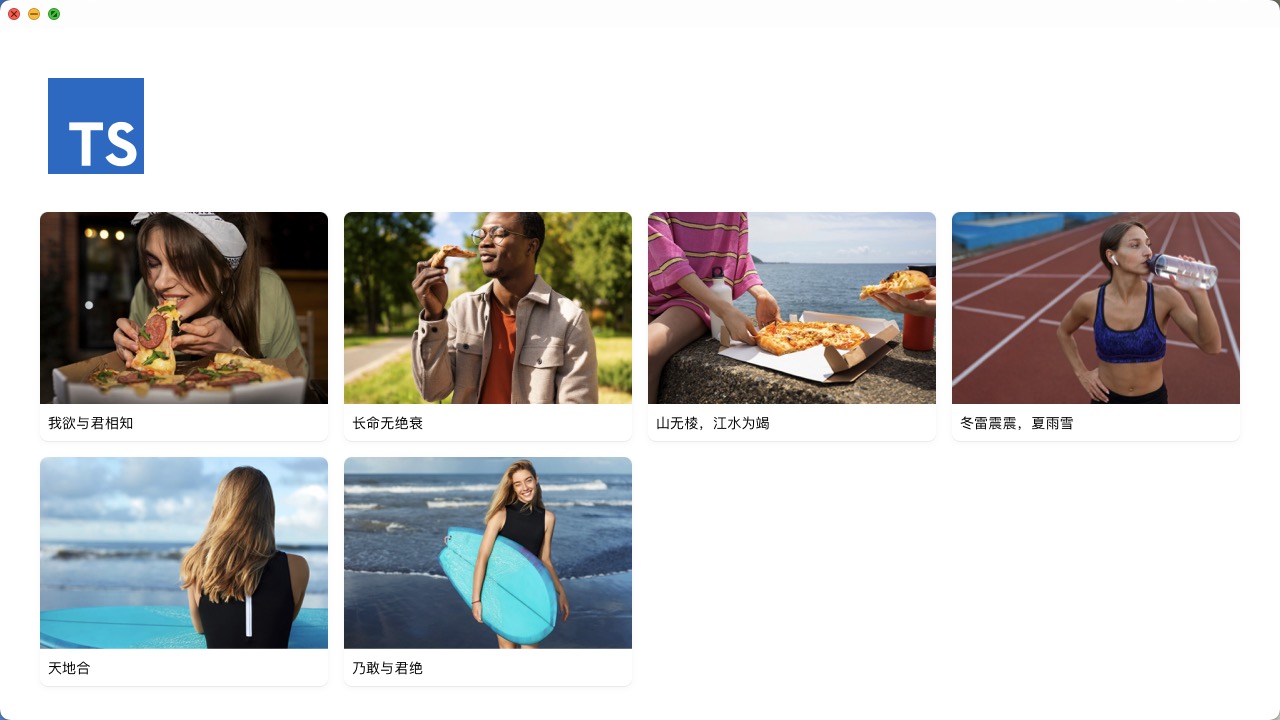
打包成功。
运行打包后的包的效果图。

最后
个人第一次使用 tauri。就这么容易打出一个桌面应用程序来。的确是方便。最直接的体验就是。
- web 页面和 tauri 程序可以完全分离。web 负责页面效果,tauri 负责构建成应用程序。当然,想做成体验好的,有特色的,他们之间的交互是要的。这个是后话,反正是能做到完全独立。这样不怕污染,省心。
- 打的包体积小。
- 看官方教程步骤一步一步来。竟然不会出错误。很顺利的就完成了上边几个方面的尝试。