
任何一款 app 都必须有名字,icon 以及启动页。本来这些是在交付前完成就好,因为有默认的,现在第一步来弄这个。也就是从零创建一个 flutter 程序后,就开始配置这些。
工具
在 app store 中找搜 app icon, 找到 图标构建-更快打导出图标组。该工具好用好免费。
打开 app 后,拖动你之前已经做好的 png 图片到 app 中。选择要生成的平台。这里选择 ios 和 androis,然后稍微设置下,点击导出。就帮你全自动生好了。
文件结构如下:
.
├── Android
│   ├── mipmap-google\ play
│   │   └── ic_launcher.png
│   ├── mipmap-hdpi
│   │   ├── ic_launcher.png
│   │   └── ic_launcher_round.png
│   ├── mipmap-mdpi
│   │   ├── ic_launcher.png
│   │   └── ic_launcher_round.png
│   ├── mipmap-xhdpi
│   │   ├── ic_launcher.png
│   │   └── ic_launcher_round.png
│   ├── mipmap-xxhdpi
│   │   ├── ic_launcher.png
│   │   └── ic_launcher_round.png
│   └── mipmap-xxxhdpi
│       ├── ic_launcher.png
│       └── ic_launcher_round.png
└── Apple
    └── iPhone
        └── AppIcon.appiconset
            ├── Contents.json
            ├── ios-marketing-1024x1024.png
            ├── iphone-20x20@2x.png
            ├── iphone-20x20@3x.png
            ├── iphone-29x29@2x.png
            ├── iphone-29x29@3x.png
            ├── iphone-40x40@2x.png
            ├── iphone-40x40@3x.png
            ├── iphone-60x60@2x.png
            └── iphone-60x60@3x.png
生好了,下边就找到对应的目录进行替换就好了。
icon 开始一波
替换之前,先删掉之前的。
ios 端,找到项目目录下的 ios/Runner/Assets.xcassets/AppIcon.appiconset,用之前生好的,完全替换掉就好了。
android 端,找到项目目录下的 android/app/src/main/res, 用之前生好的,完全替换掉就好了。
名字 开始一波
ios 端,找到项目目录下的 ios/Runner/Info.plist 文件,修改CFBundleName 对应的值。
android 端,找到项目目录下的 android/app/src/main/AndroidManifest.xml文件,修改 android:label 对应的值。
启动页 开始一波
ios 端, 找到项目目录下的 ios/Runner/Assets.xcassets/LaunchImage.imageset文件夹中,替换对应的尺寸即可。
android 端: 找到项目目录下的 android/app/src/res/drawable/launch_background.xml 通过自定义drawable来实现自定义启动界面。
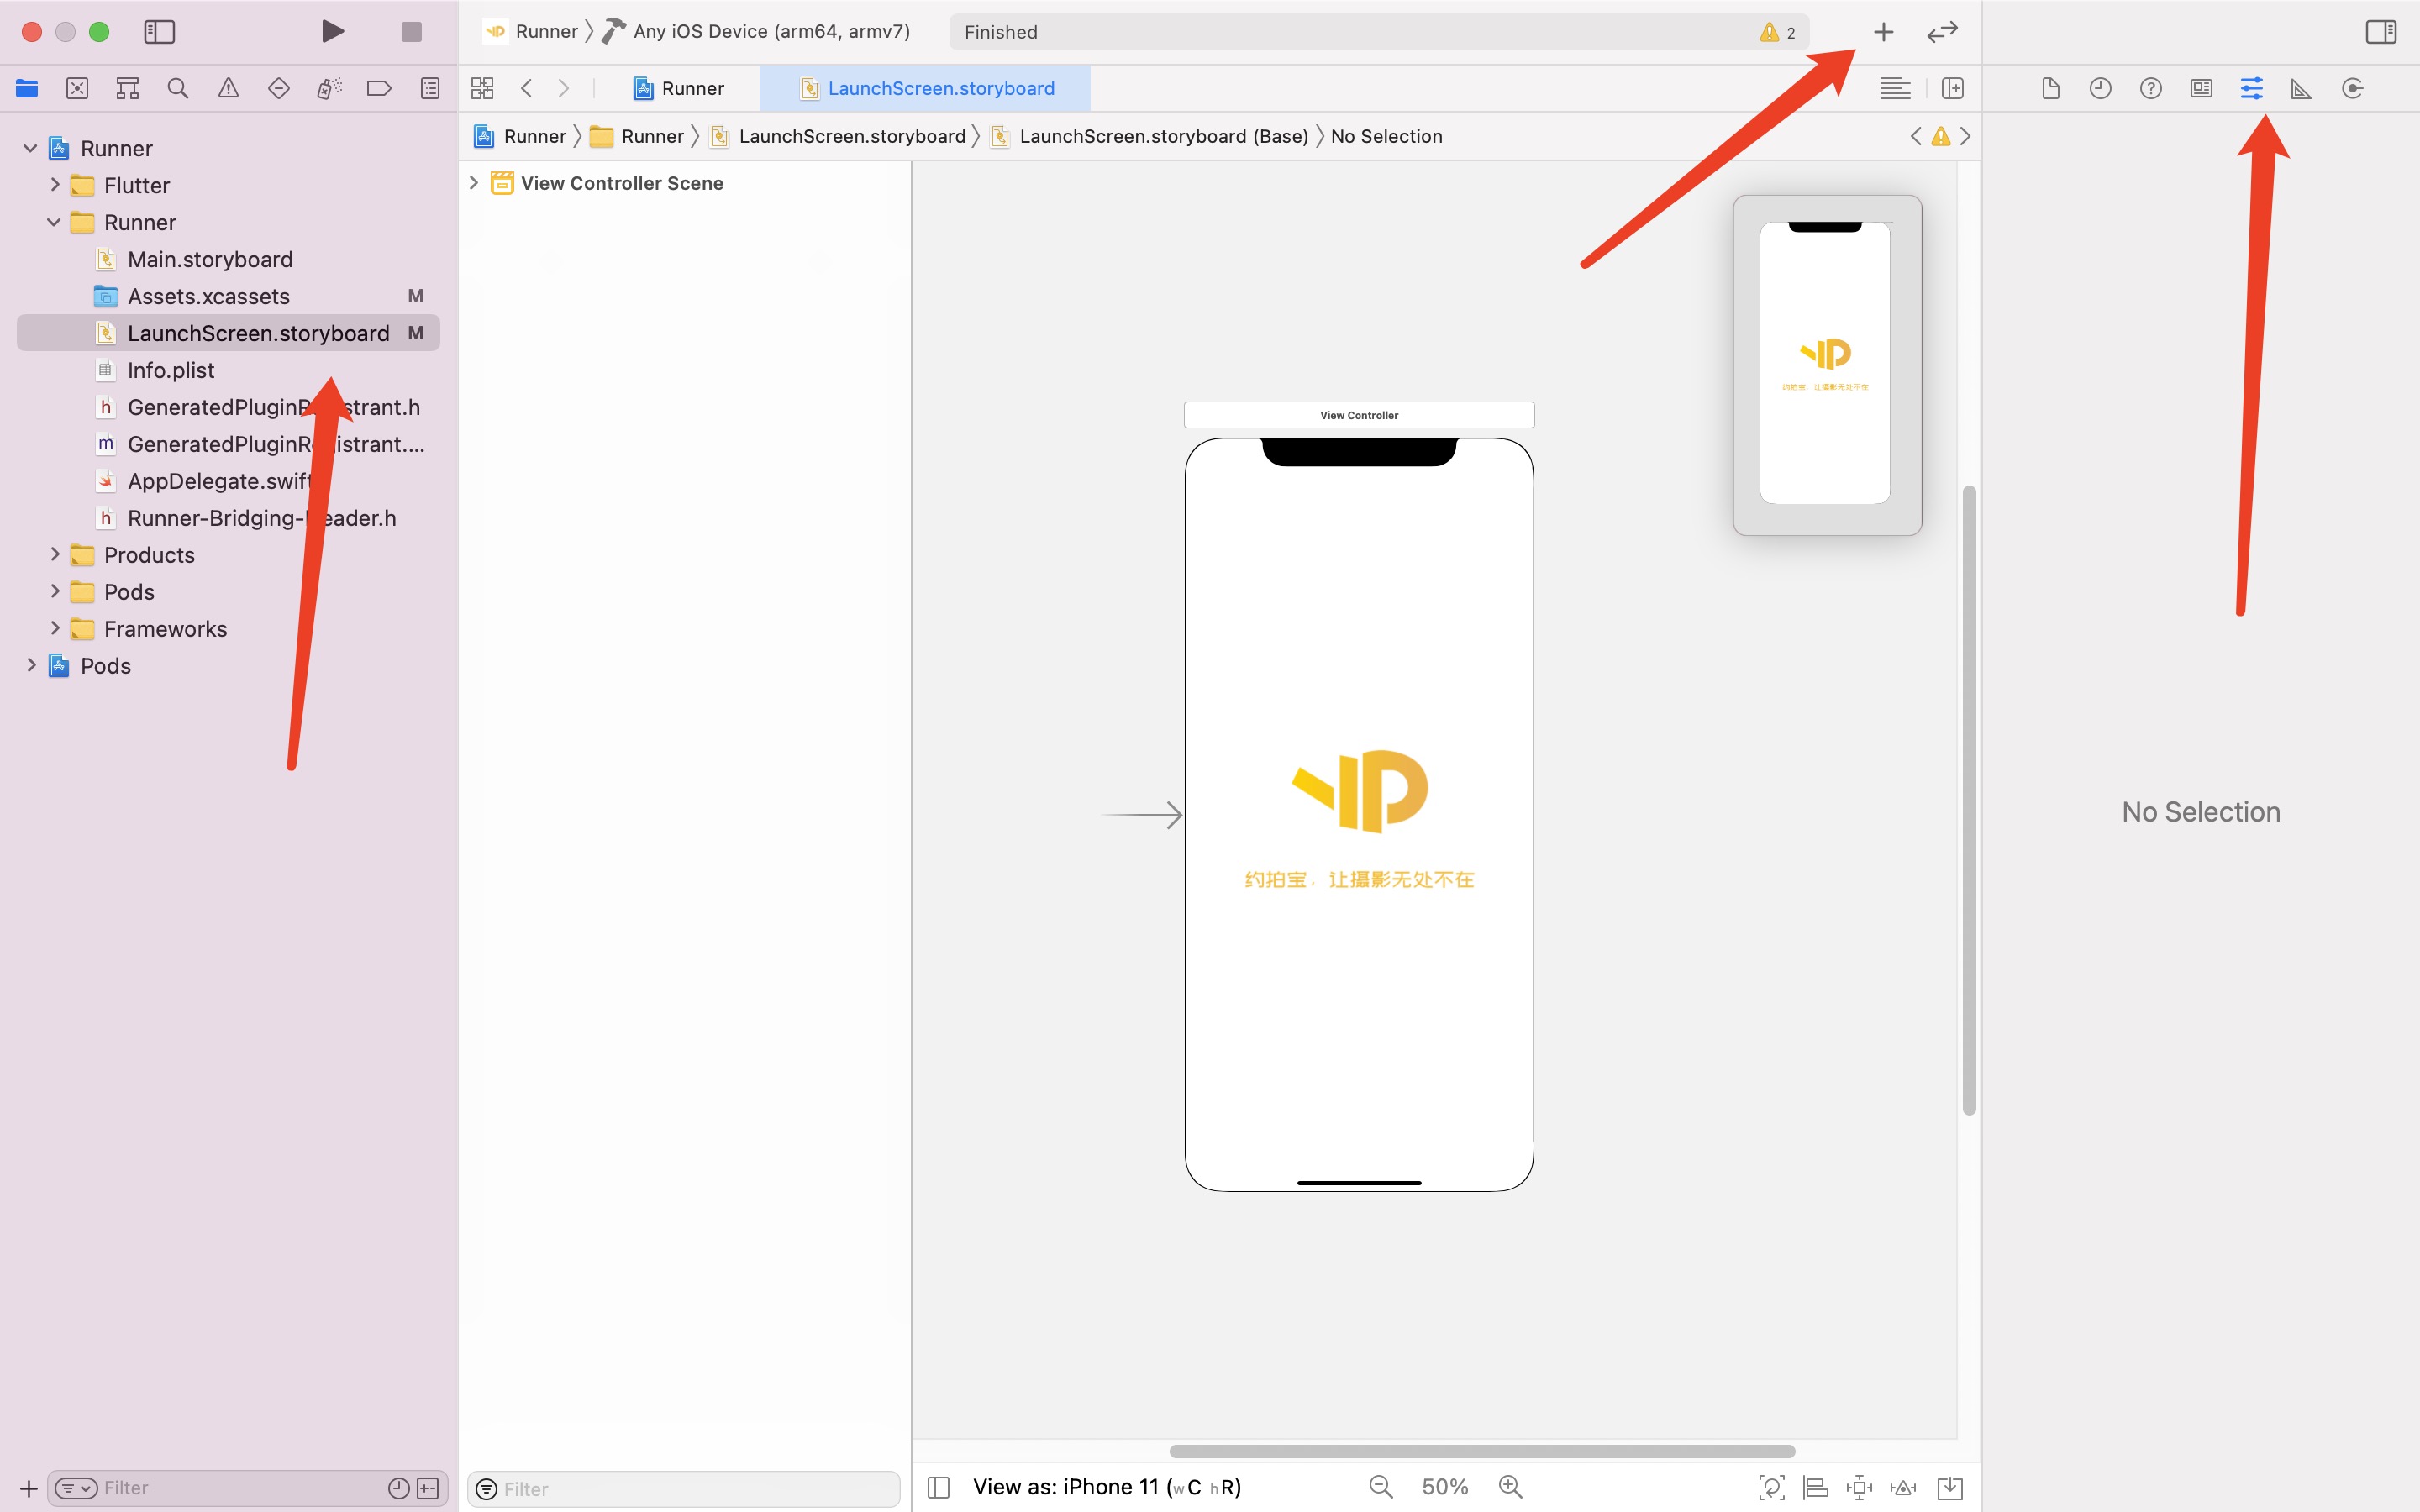
ios 的启动页最好不仅仅是替换图片。而是通过 xcode 打开项目,然后点击 Runner->Runner->LaunchScreen.storyboard 进行配置和适应。如下图:
对于启动页,一个追求完美的人,不可能就这么算了。因为程序够好够简单的时候,启动页很快就过去了,根本就来不及去看清。这个让人难受啊。可是,可是可以配置休眠时间。
修改 AppDelegate.swift 如下:
import UIKit
import Flutter

@UIApplicationMain
@objc class AppDelegate: FlutterAppDelegate {
  override func application(
    _ application: UIApplication,
    didFinishLaunchingWithOptions launchOptions: [UIApplication.LaunchOptionsKey: Any]?
  ) -> Bool {
    GeneratedPluginRegistrant.register(with: self)
    Thread.sleep(forTimeInterval: 2)
    return super.application(application, didFinishLaunchingWithOptions: launchOptions)
  }
}
尝试了下休眠时间,虽然停留久了,可是都是白屏再出启动页面。太难受了。最终,可以修改 flutter 的代码真正实现延迟。在 main.dart 中修改。如下:
void main() {
  Future.delayed(Duration(seconds: 3)).then((e) {
    runApp(MyApp());
  });
}
上边就是修改启动页的展示时间的方式。
参考
https://flutter.cn/docs/development/ui/advanced/splash-screen