Laravel 11 和 Laravel Reverb 现已发布。Reverb 是 Laravel 生态系统的最新成员,是第一方、可扩展的 WebSocket 服务器,旨在为用户的应用程序提供强大的实时功能。
Laravel 11 引入了:极简应用结构、默认使用 SQLite、实现 health routing、提供每秒速率限制、支持优雅的加密密钥轮换、改进队列测试、引入新的 Artisan 命令、添加 Resend 邮件传输、集成 Prompt validator、新的 Artisan commands、Model Casts 改进、The once function、改进了使用内存数据库进行测试时的性能、改进了对 MariaDB 的支持等等,
Laravel 11 使用的 PHP 版本最低要求是 PHP 8.2。

https://www.meilisearch.com/docs/learn/cookbooks/laravel_scout
构建 laravel 项目使用的工具不是 Sail 时。按照官方文档 https://laravel.com/docs/11.x/scout 来安装和使用 Scout 时,发现会报错。
cURL error 7: Failed to connect to 127.0.0.1 port 7700 after 0 ms: Couldn't connect to server (see https://curl.haxx.se/libcurl/c/libcurl-errors.html) for http://127.0.0.1:7700/indexes/resources/documents?primaryKey=id"
我这里使用的是 docker 环境。出现这个的原因是没有启动 meilisearch 服务。如果使用 sail 构建时,其会包含 meilisearch 服务。所以在这里,自己手动构建好 meilisearch 服务就可以了。docker-compose.yaml 配置如下:
  meilisearch:
    image: getmeili/meilisearch:latest
    container_name: meilisearch_latest
    ports:
      - "7700:7700"
    environment:
      - MEILI_MASTER_KEY=masterKey
      - MEILI_NO_ANALYTICS=true
    volumes:
      - ./data/meilisearch:/var/lib/meilisearch
    restart: always
其中,masterKey 为秘钥,可以自定义。
然后 laravel 的 .env 文件中,可以增加以下配置。
SCOUT_DRIVER=meilisearch
MEILISEARCH_HOST=http://meilisearch:7700
MEILISEARCH_KEY=masterKey
其他按照官方文档来就可以了。
docker 的确是个好东西。该早一点就用起来。当下还在熟悉和练习中。
渐渐去丰富和完善。
.env
# 时区
TZ=Asia/Shanghai

# 项目对应文件夹
SOURCE_DIR=./www

# nginx https://nginx.org/
NGINX_NAME=nginx
NGINX_VERSION=1.25.3
NGINX_HTTP_HOST_PORT=80
NGINX_HTTPS_HOST_PORT=443
NGINX_CONFD_DIR=./conf/nginx/conf.d
NGINX_CONF_FILE=./conf/nginx/nginx.conf
NGINX_SSL_CERTIFICATE_DIR=./conf/nginx/ssl
NGINX_LOG_DIR=./logs/nginx

# php8.3
PHP_LOG_DIR=./logs/php8.3

# mysql
MYSQL_DATA=./data/mysql8.2-data
MYSQL_PORT=3306

# redis
REDIS_PORT=6379很久很久以前,第三方授权登录就开始流行。比如 qq、微博、github、微信这些。如果有一个大的平台来做这个服务的确是很方便的一个事情。在这些授权后都会有一个回调页面,就是从自己的网页跳转到授权页面,再跳转回来。但是,小程序是没提供这个服务的。但是自己可以构造类似的方式。
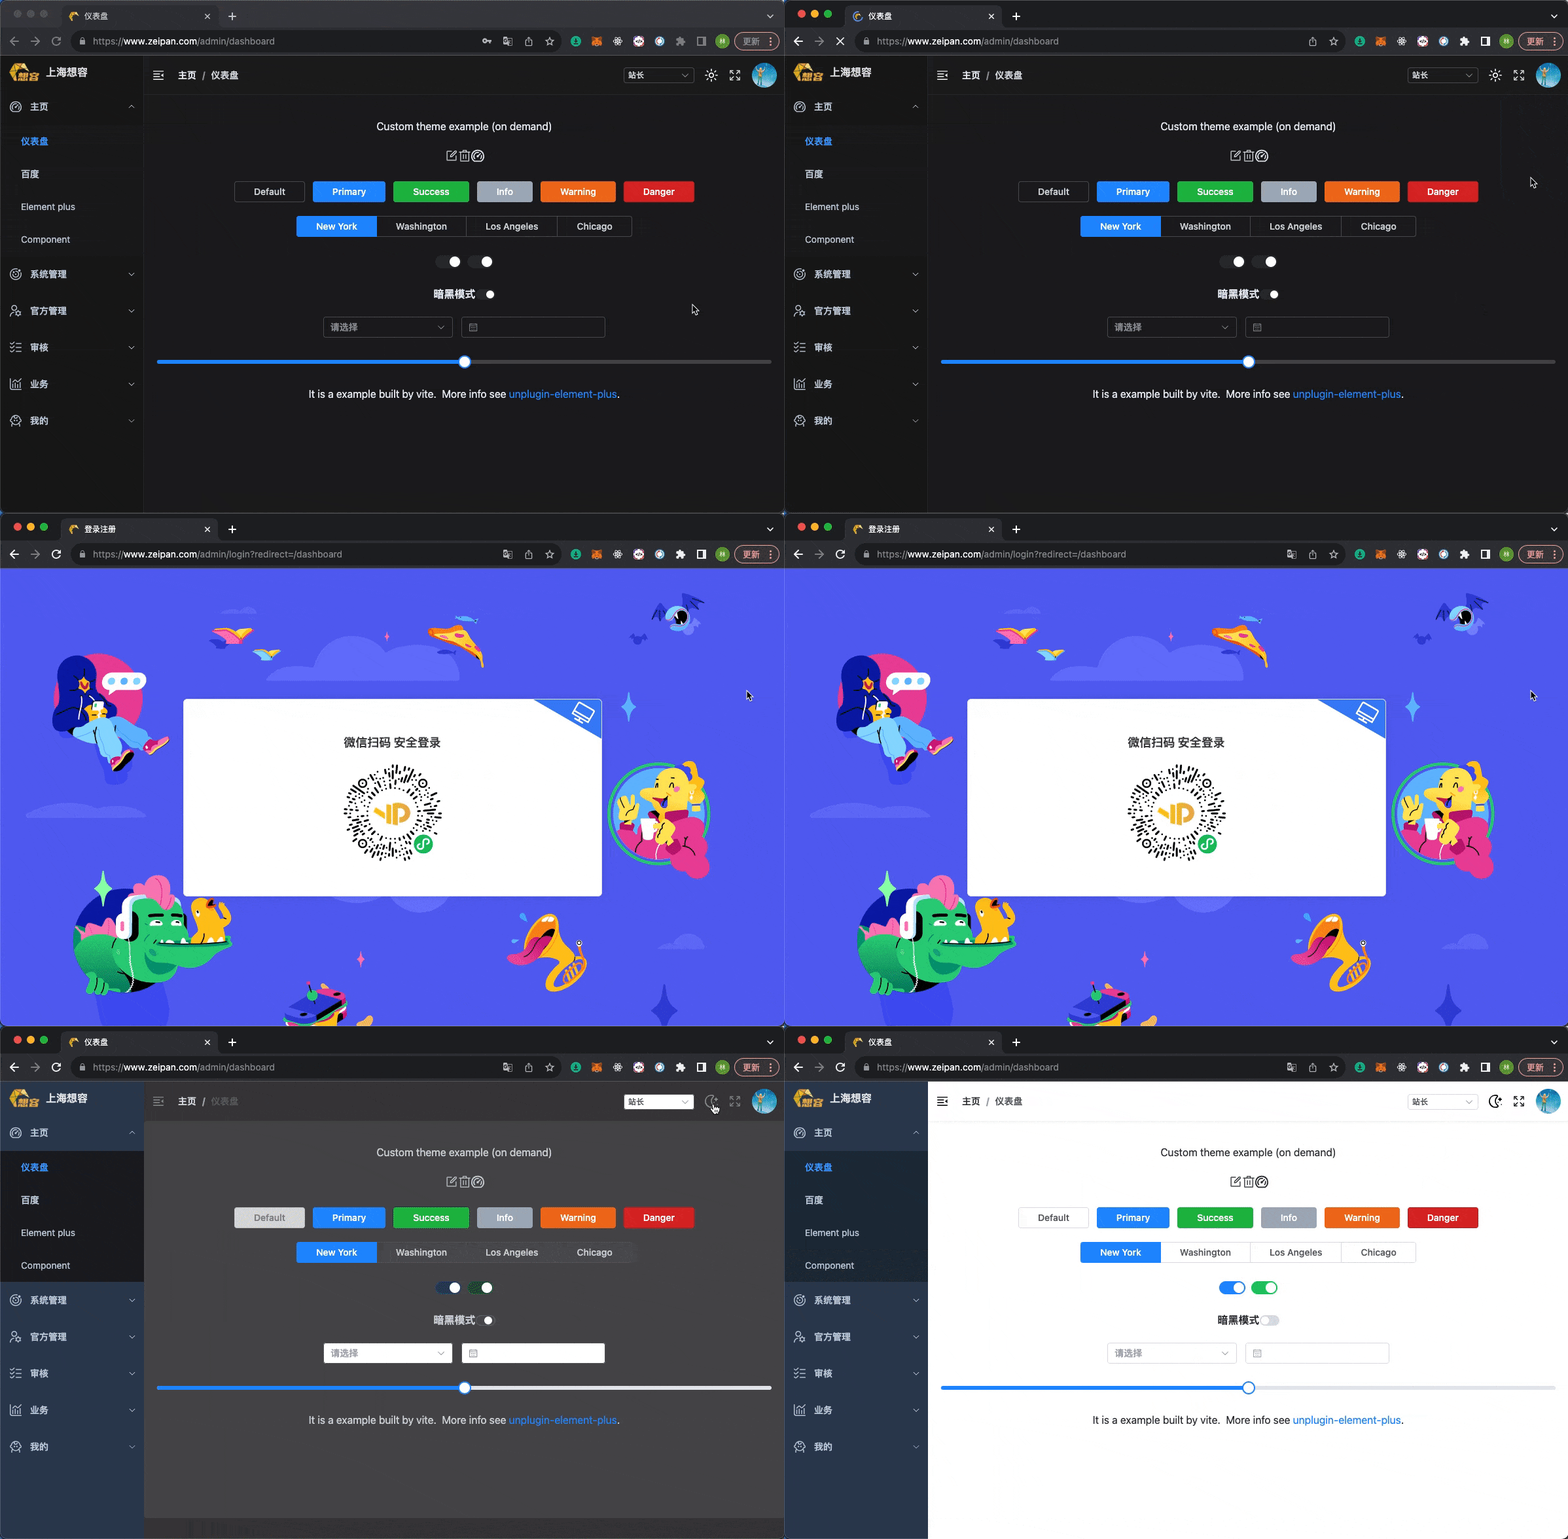
整个环节,代码都是由自己控制,可以很灵活的视线需求。仅仅是生成小程序码和扫码登录上小程序是腾讯那边做的。
示例:https://www.zeipan.com/admin

步骤
关键点:这里以 jwt 的认证方式来实现授权登录。
- 登录页获取并展示生成携带参数的小程序码
- 登录页面轮询获取登录状态(这里是 token)
- 手机微信扫描小程序码并授权同意登录
该后台使用 vite + ts + pnpm + vue3 + element-plus + tailwindcss 等技术栈构成。没有添加任意可视化图标等插件。以最小功能,最基础功能展现。用户可以额外添加可使用的插件逻辑。
该后台后端使用 php8.2 + laravel 10 + mysql
该后台后端 go 语言版本开发中。将使用 gframe2.5.2
源码: https://github.com/vini123/simpleAdmin
在线体验: https://www.zeipan.com/admin
权限以及密码一键复位: https://v3test.yuepaibao.com/admin/api/reset
测试账号以及密码: zhoulin@xiangrong.pro、 111111 (如果发现登录不了,可一键复位谢谢)

既然 go 的迁移、seeder 等不好用,还是用 laravel 来搞吧。
开始
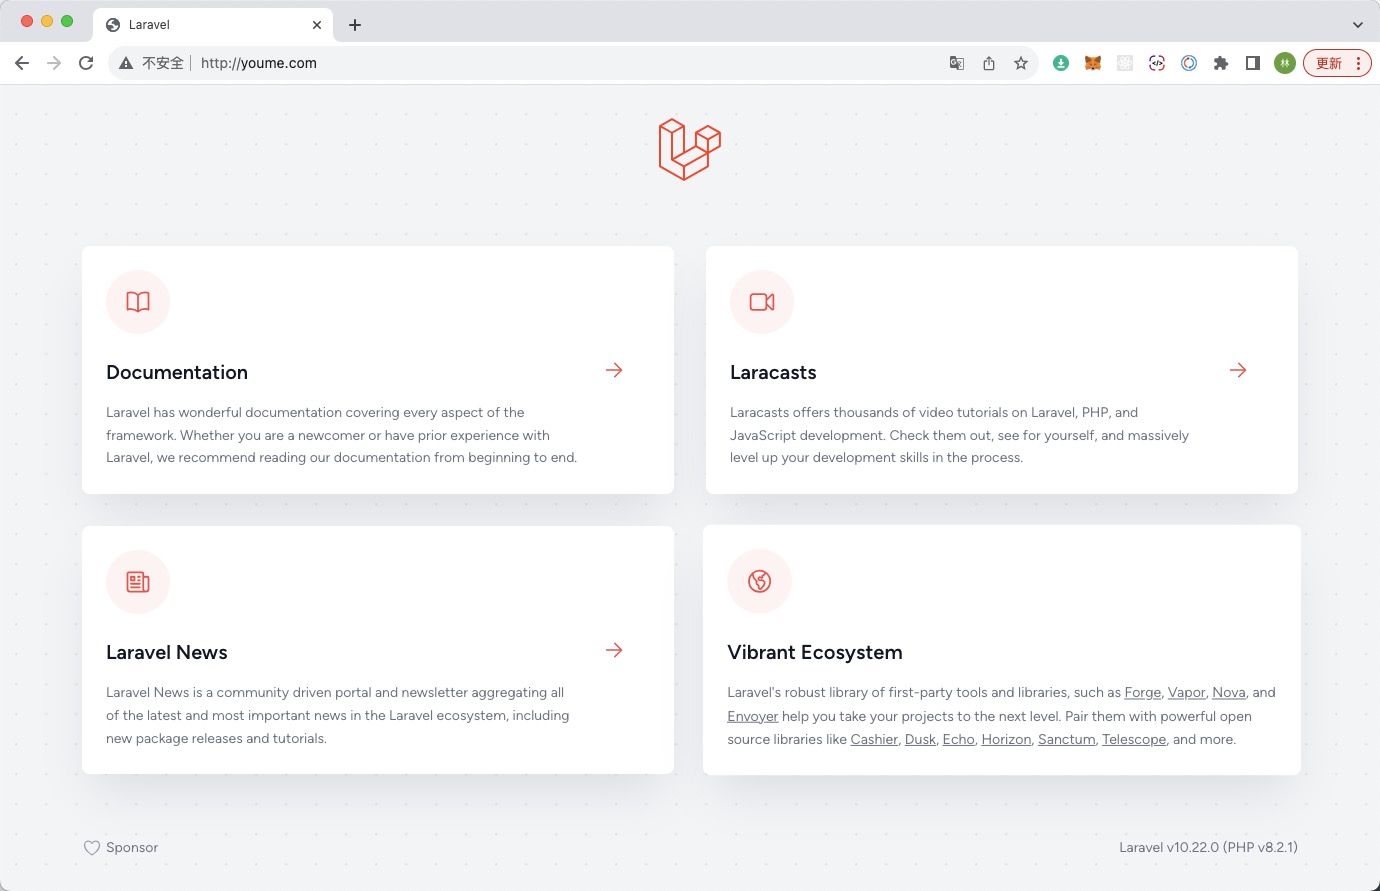
composer create-project laravel/laravel youme.com --prefer-dist这样就创建了一个最新的 laravel 项目,项目文件在 youme.com 里。在本地,做了 host 映射。通过 youme.com 就可以打开。

上边就是默认的。
创建 git 版本控制,提交。
git init -b main
git add .
git commit -m 'laravel initialize'前端本地测试,mock 可以先用着。终究还是得和真实的服务环境对接。这个时候请求接口,往往就会遇到跨域的问题。对于 laravel框架,对于 laravel10,只需要建立一个中间件,在中间件中对请求进行处理就好。需要的时候,带上中间件,不需要的时候,去掉它就可以。还是很方便的。
Do
php artisan make:middleware EnableCrossRequestMiddleware

# 完整代码如下
<?php

namespace App\Http\Middleware;

use Closure;
use Illuminate\Http\Request;
use Symfony\Component\HttpFoundation\Response;

class EnableCrossRequestMiddleware
{
    /**
     * Handle an incoming request.
     *
     * @param  \Closure(\Illuminate\Http\Request): (\Symfony\Component\HttpFoundation\Response)  $next
     */
    public function handle(Request $request, Closure $next): Response
    {
        $response = $next($request);
        $origin = $request->server('HTTP_ORIGIN') ? $request->server('HTTP_ORIGIN') : '';
        $allow_origin = [
            'http://localhost:5173',
        ];

        if (in_array($origin, $allow_origin)) {
            $IlluminateResponse = 'Illuminate\Http\Response';
            $SymfonyResopnse = 'Symfony\Component\HttpFoundation\Response';
            $headers = [
                'Access-Control-Allow-Origin' => $origin,
                'Access-Control-Allow-Methods' => 'POST,GET,OPTIONS,PUT,PATCH,DELETE',
                'Access-Control-Allow-Headers' => 'Accept,Content-Type,Referer,User-Agent,Origin,X-Requested-With,X-XSRF-TOKEN,X-CSRF-TOKEN,Authorization,Time'
            ];

            if ($response instanceof $IlluminateResponse) {
                foreach ($headers as $key => $value) {
                    $response->header($key, $value);
                }
                return $response;
            }

            if ($response instanceof $SymfonyResopnse) {
                foreach ($headers as $key => $value) {
                    $response->headers->set($key, $value);
                }
                return $response;
            }
        }
        return $response;
    }
}
然后,在 ./app/Http/Kernel.php 的 $middleware 中添加一个配置。
    protected $middleware = [
        …
        \App\Http\Middleware\EnableCrossRequestMiddleware::class,
    ];
这样就完事了。
本来是想将中间件放在中间件组里(middlewareGroups)或使用 alias (放在 $middlewareAliases)的方式来使用,但都失败了。暂时还没找到原因。
之所以想这样弄,是因为不是所有的请求都需要设置请求头。
Please use another name or delete the machine with the existing name, and try again
A VirtualBox machine with the name 'homestead' already exists.
Please use another name or delete the machine with the existing
name, and try again.
Do
之前在mac上安装laravel/homestead vagrant虚拟机环境时由于参照的教程是: 每次都必须在~/Homestead目录下边运行vagrant up/halt命令,觉得实在是不方便,于是乎按照另外一个教程(在任何目录下可以通过homestead up来启动虚拟机)来配置环境,但是当键入homestead up时,却报出
==> default: Importing base box 'laravel/homestead'...
==> default: Matching MAC address for NAT networking...
A VirtualBox machine with the name 'homestead' already exists.
Please use another name or delete the machine with the existing
name, and try again.
这样的错误
stackoverflow上好几个人说通过vagrant global-status 查看虚拟器,然后在vagrant destroy {id}删除对应名称的虚拟机可以解决问题,但是重复n遍homestead up或者到~/Homestead下运行vagrant up之后,还是会报出上边的错误,后来通过VBoxManage list vms获取虚拟机列表,然后在通过运行
VBoxManage unregistervm homestead --delete
之后,重新运行homestead up之后 一切回归正常
