vue 这边是可以登录了。可是登录态没有保存。在这里,我们仅仅只要知道用户已经登录或已经注册了就好。然后再通过接口去获取用户信息,然后通过状态管理去处理这些信息。
这里不是通过 token 的方式维护状态。所以登录态仅仅加个标志和生命时间。想象一下,这就是一个独立的后台页面。结合 vue 的生态,它的流程是什么样子的呢。
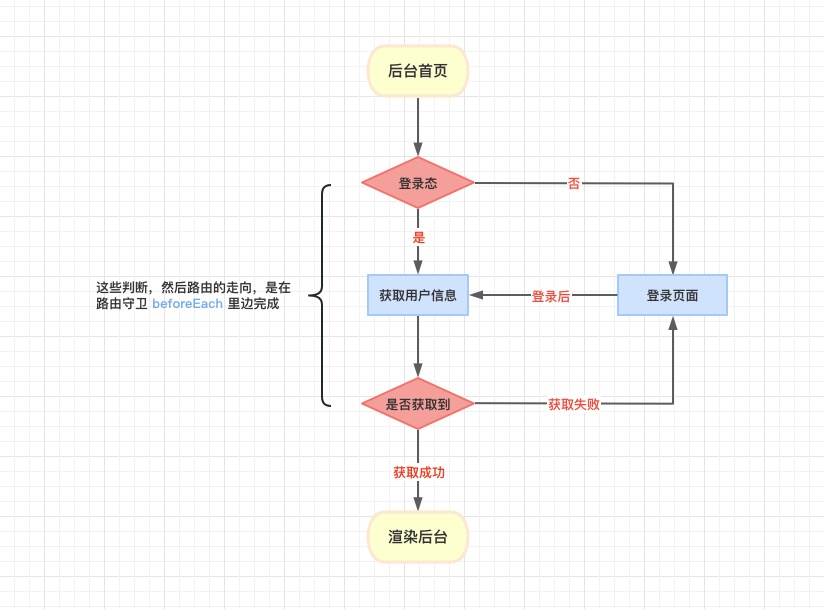
- 判断用户是否登录过了。登录过了就直接请求用户信息。这里的用户信息包括用户自身的信息以及后台菜单的信息。所有权限角色都由后端控制和生成。如果还有其他配置信息,也可以连带或再单独发送请求。 这些请求是异步的,这些请求都在 auth 中间件的守护下。如果 cookie 是过期的,后端会返回 401,前端会重定向到登录页面。如果能正常拿到数据,那么就 next,渲染后台页面(左侧菜单,顶部,中间内容部分)。
- 用户没登录过。前端直接重定向到登录页面。
流程图如下:
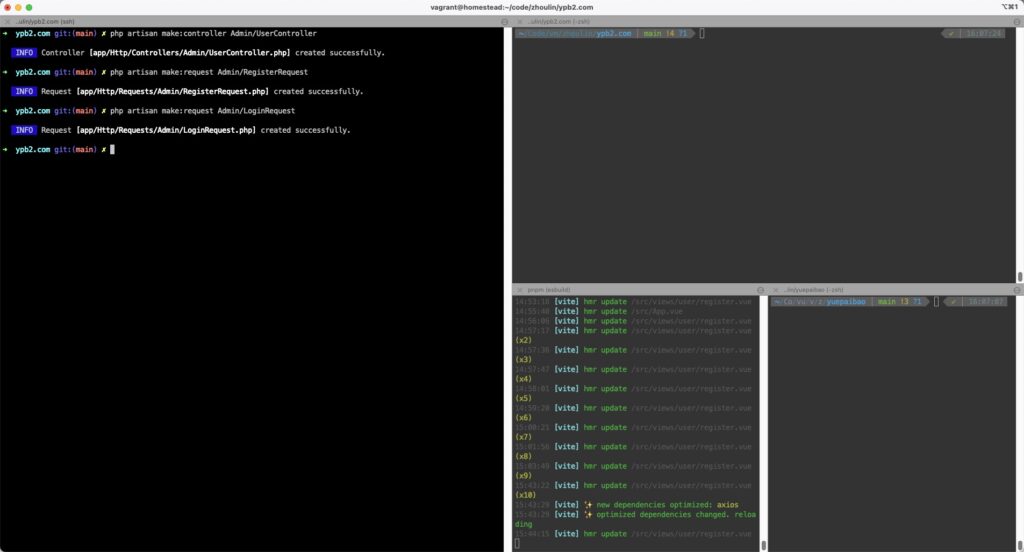
先完成服务端逻辑
用户信息的获取
增加路由,路由应遵循 restful 的风格。通过请求方式 + 资源名 + 参数的方式。比如,如果是 put 请求,表示该请求是修改已存在的资源。
# routes/admin.php

Route::group([
    'middleware' => ['auth:sanctum'],
], function () {
    Route::get('userinfos', [UserController::class, 'getUserInfo'])->name('admin.api.getUserInfo');
});
增加控制器逻辑
# app/Http/Controllers/Admin/UserController
public function getUserInfo(Request $request)
{
    $user = $request->user();

    return response()->json(['user' => $user, 'menus' => []]);
}
这里可以直接拿到用户信息,是因为有 sanctum 中间件的守护。如果用户的认证未通过,在中间件环节就已经返回 401 了。这里是测试,所以菜单,直接给个空的数组。
json 没有指定 http状态码,默认就是 200。
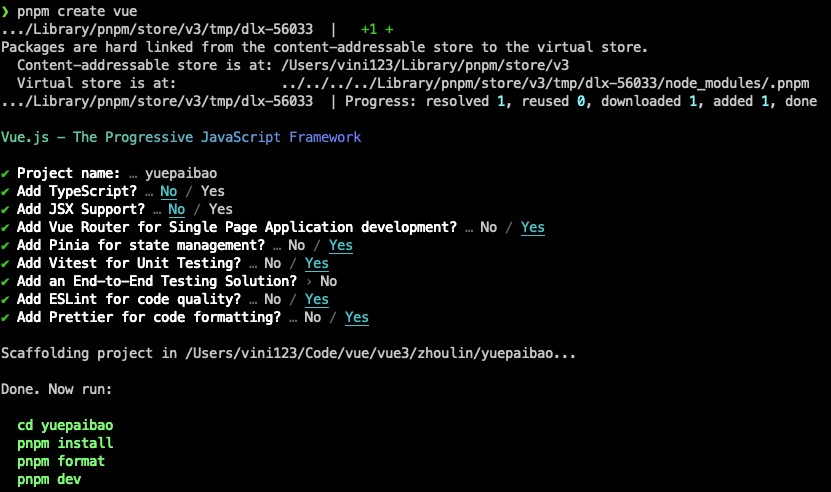
完成 vue 的逻辑
vue 中的状态管理这里用 pinia。
删除默认的 stores/counter.js
增加 stores/userinfo.js
import { defineStore } from 'pinia'

export const useUserinfo = defineStore('userinfo', {
    state: () =>({
        isLogin: localStorage.getItem('isLogin') || false,
        name: '',
        email: ''
    }),
    actions: {
        login() {
            localStorage.setItem('isLogin', true)
            this.isLogin = true
        },
        loginOut() {
            localStorage.removeItem('isLogin')
            this.isLogin = false
        },
        setUserinfo(value) {
            const keys = ['name', 'email']
            keys.forEach(item => {
                if (value[item]) {
                    this[item] = value[item]
                } else {
                    this[item] = ''
                }
            })
        }
    }
})
现在的 pinia 是以前的 vuex 新版。用起来更方便,如果不是它的功能,感觉就自己组件内的调用。而且,也不像以前那样多很多 modules 的概念。
状态处理好了,我们现在来处理路由守护。将以前的路由里边加上守护逻辑就好。
router/index.js
import { createRouter, createWebHistory } from 'vue-router'
import { useUserinfo } from '@/stores/userinfo.js'
import { GetUserinfo }from '@/api/request'

const router = createRouter({
  history: createWebHistory(import.meta.env.BASE_URL),
  base: '/admin/',
  routes: [
    {
      path: '/',
      name: 'home',
      component: () => import('../views/home/index.vue')
    },
    {
      path: '/login',
      name: 'login',
      component: () => import('../views/user/login.vue')
    },
    {
      path: '/register',
      name: 'register',
      component: () => import('../views/user/register.vue')
    }
  ]
})

router.beforeEach(async (to, from, next) => {
  const whiteList = ['/login']
  const userinfo = useUserinfo()
  const isLogin = userinfo.isLogin
  if (isLogin) {
    GetUserinfo().then(
      res => {
        userinfo.setUserinfo(res.data.user)
        next()
      }
    ).catch(() => {
      userinfo.loginOut()
      next(`/login?redirect=${to.path}`)
    })
  } else {
    if (whiteList.some(value => value == to.path)) {
      next()
    } else {
      next(`/login?redirect=${to.path}`)
    }
  }
})
export default router
路由守护做好了,我们只需要在登录成功后调用状态的 login 方法,并跳转到首页就好。
关于这个跳转,体验做到更好的话,不是非要强制跳转到首页的。比如本来用户是在看后台的用户信息,这个时候刚好 session 过期了,需要重新登录。登录成功后跳转到之前的页面,就是后台的用户信息页面才是最好的。
关于这个路由,我们可以在登录组件中,通过路由的监听获取到。
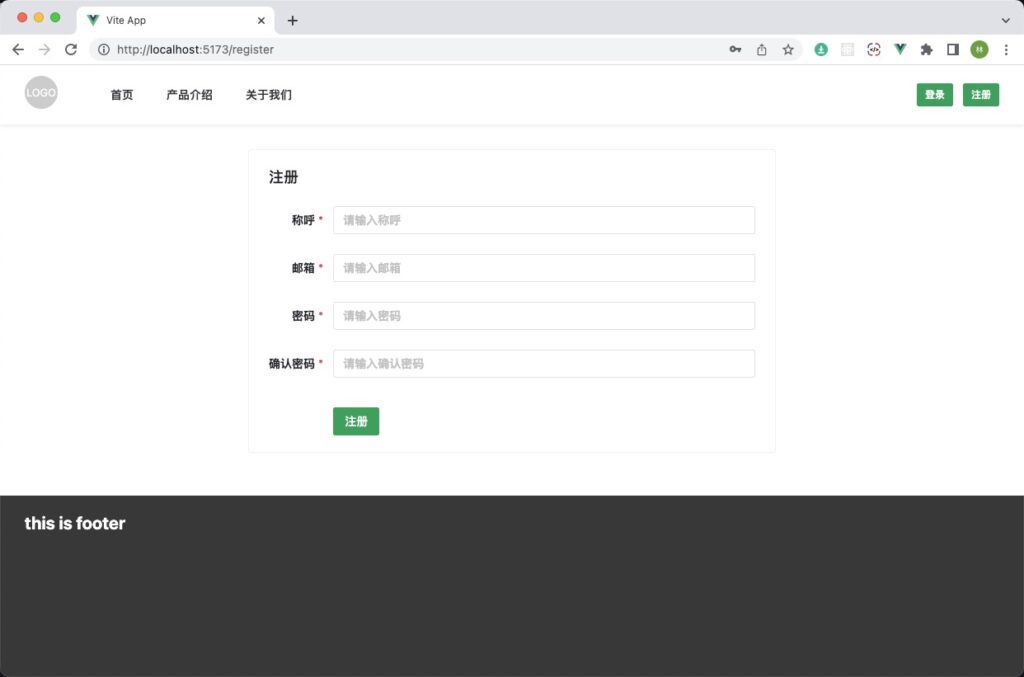
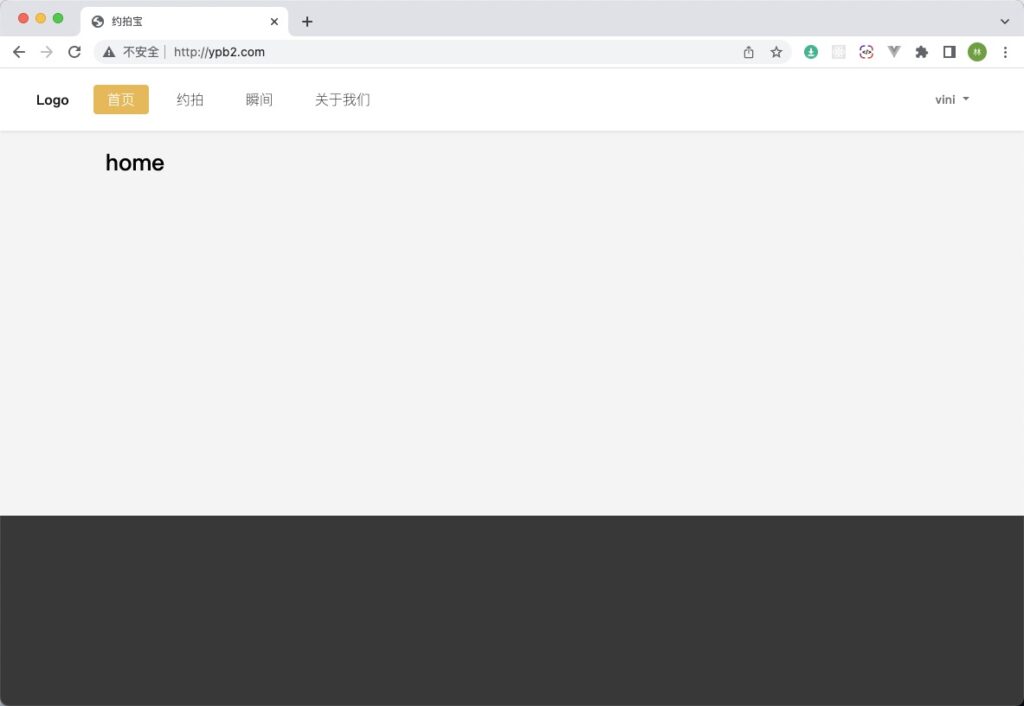
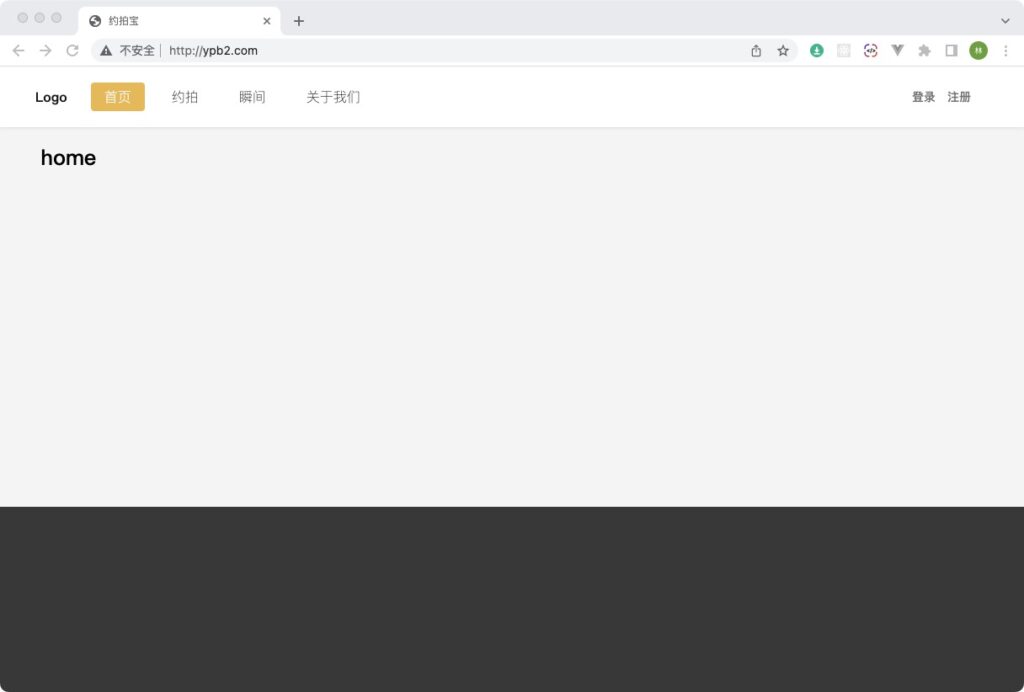
最后,我们修改下 header 组件。如果用户登录了,就显示用户的称呼。否则显示登录注册按钮。
<template>
    <header>
        <div>
      <n-avatar round size="large" @click="goHome">
        LOGO
      </n-avatar>
    </div>

        <div class="nav-bar">
            <n-space class="left-nav">
                <n-button quaternary @click="goHome">首页</n-button>
                <n-button quaternary>产品介绍</n-button>
                <n-button quaternary>关于我们</n-button>
            </n-space>

            <n-space v-if="userinfo.name">
                <span>{{ userinfo.name }}</span>
            </n-space>

            <n-space v-else class="right-nav">
                <n-button type="success" size="small" style="font-size: 12px;" @click="goLogin">登录</n-button>
                <n-button type="success" size="small" style="font-size: 12px" @click="goRegister">注册</n-button>
            </n-space>
        </div>
    </header>
</template>

<script setup>

import { useRouter } from 'vue-router'

import { useUserinfo } from '@/stores/userinfo.js'

const userinfo = useUserinfo()

const router = useRouter()

const goHome = () => {
    router.push({name: 'home'})
}

const goLogin = () => {
  router.push({name: 'login'})
}

const goRegister = () => {
  router.push({name: 'register'})
}
</script>

<style lang="scss" scoped>
header {
    display: flex;
    align-items: center;
    box-sizing: border-box;
    padding: 0 30px;
    width: 100%;
    height: 72px;
    background-color: #fff;
    box-shadow: 0 0.125rem 0.25rem #00000013 !important;

  .nav-bar {
    display: flex;
    align-items: center;
    width: 100%;
    box-sizing: border-box;
    padding-left: 50px;

    .left-nav {
      flex:1;
    }
  }
}
</style>
退出功能没做。这里就不做了,这里仅仅是 demo。不是真正的项目。
其实,注册按钮也是不需要的。后台我就不想让用户注册。还有登录这里,我其实也不想要用户输入,直接让用户扫码还更快。现在谁没个手机,现在谁没个微信。就是这么霸道,只要一个登录二维码就可以。
这里,我还是把注册相关的删掉吧。删除注册组件,删除注册按钮,删除注册路由信息。
好了。现在打包一下项目。拿到 php 那边去测试一下。
pnpm run build
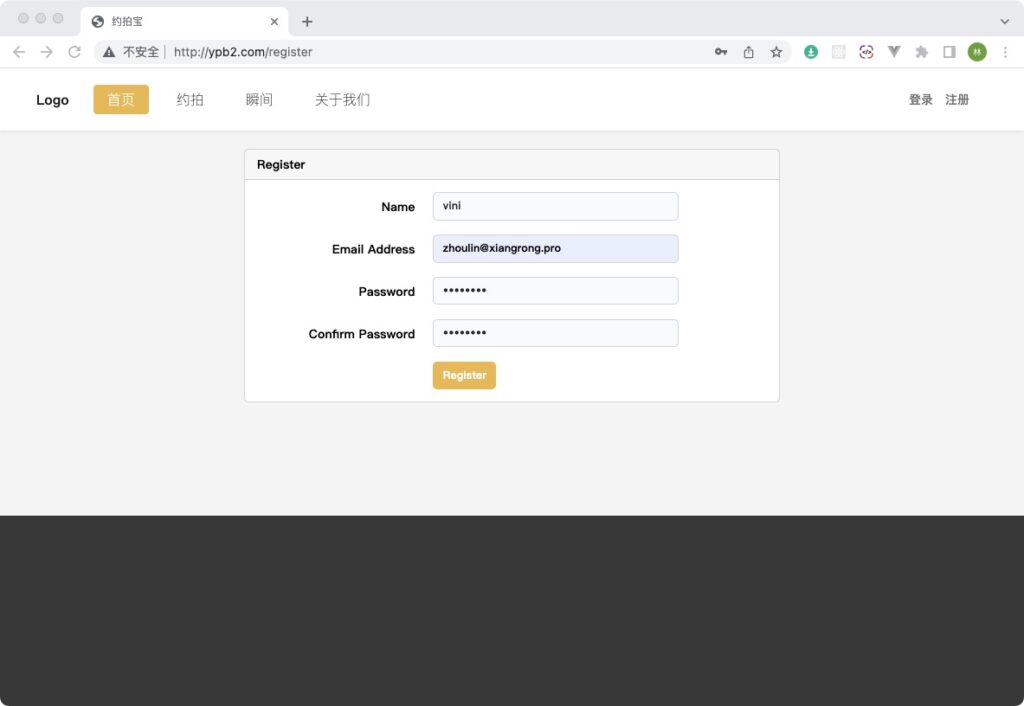
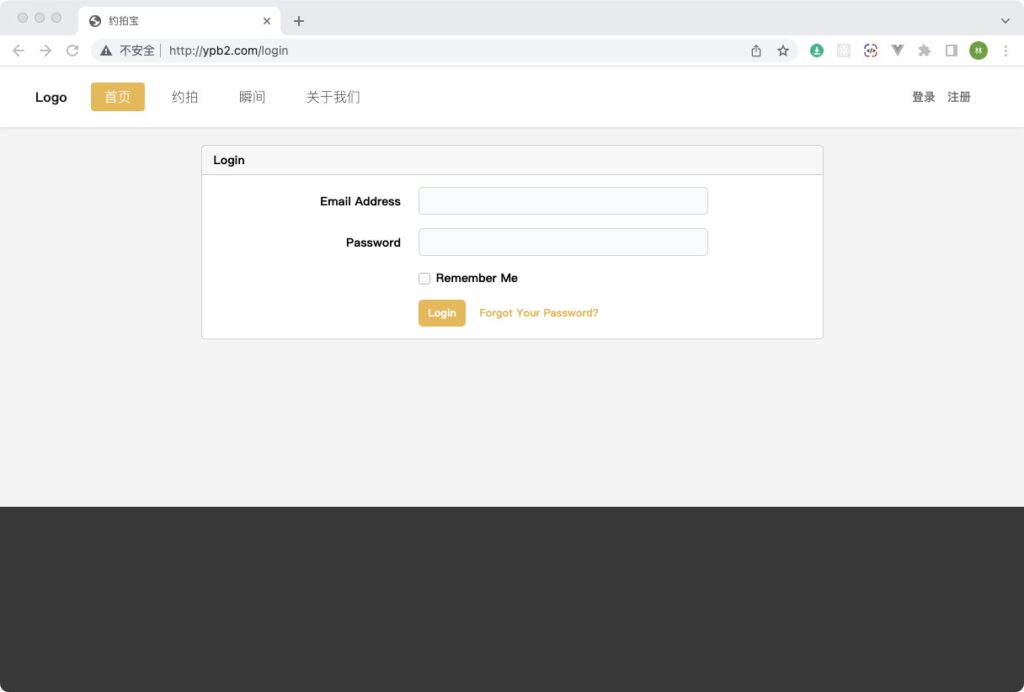
效果如图所示。
到此,已经验证了。 项目主网站和vue做的spa后台网站,可以公用登录态。下一步就是做移动端(app、小程序等)的接口逻辑。这个接口适用 token 的方式来验证登录态,不再是 cookie和session的方式。
提交代码。清洗车子。收拾房子。
git add .
git commit -m '登录功能彻底完成'

git remote add origin https://gitlab.com/demo9885/vue3_backstage.git

git push -u origin main
代码仓库: https://gitlab.com/demo9885/vue3_backstage
这个只是一个简单的架构。离完整的项目还差很多。比如多语言,多主题(白天,晚上等),组件库,图表,大屏展示等等。