12月
25
安装软件
安装中可能存在的错误
# curl 安装 oh my zsh 时
curl: (7) Failed to connect to raw.github.com port 443: Connection refused
上边的错误解决请看:https://blog.vini123.com/553
12月
24
过程
vagrant box remove laravel/homestead

vagrant destroy

# virtualbox 自带 uninstall
# 删除 vagrant
mac 安装的软件
- Chrome
- iterm2
- 迅雷
- vscode
- 微信
- Geph
- 百度云盘
- ForkLift
- HbuilderX
- 腾讯课堂
- Adobe Photoshop
- Adobe InDesign
- Adobe Lightroom Classic
- Adobe Preme
- Adobe II
- ezip
- 爱奇艺
- 钉钉
- 达芬奇
- Screenium 视频截图
- MacClean
- Navicat Premium
- rdm
- Postman
- 微信开发者工具
- 腾讯视频
- qq音乐
- QQ
- Sequel Pro
- 微信支付商户证书工具
- 百度小程序开发者工具
- Novavi PDF Editor2 这个蛮好用的 pdf 可以编辑 pdf
- 有道云笔记
- 花间
- mac office2019
mac ntfs 工具
https://blog.csdn.net/huajian121/article/details/108835602
12月
18
12月
15
使用 windows terminal 虽然很开心。可是使用 git log -n 1 的时候,出现中文乱码。这个得解决。
操作一波
- 在 windows terminal 中,进行下边的操作。
git config --global core.quotepath false
git config --global gui.encoding utf-8
git config --global i18n.commit.encoding utf-8
git config --global i18n.logoutputencoding utf-8
$env:LESSCHARSET='utf-8'
- 在系统环境变量中添加变量 LESSCHARSET 为 utf-8
win + s 输入环境变量,回车就会出现环境变量设置框。

在环境变量模块增加 LESSCHARSET => utf-8 配置即可
12月
11
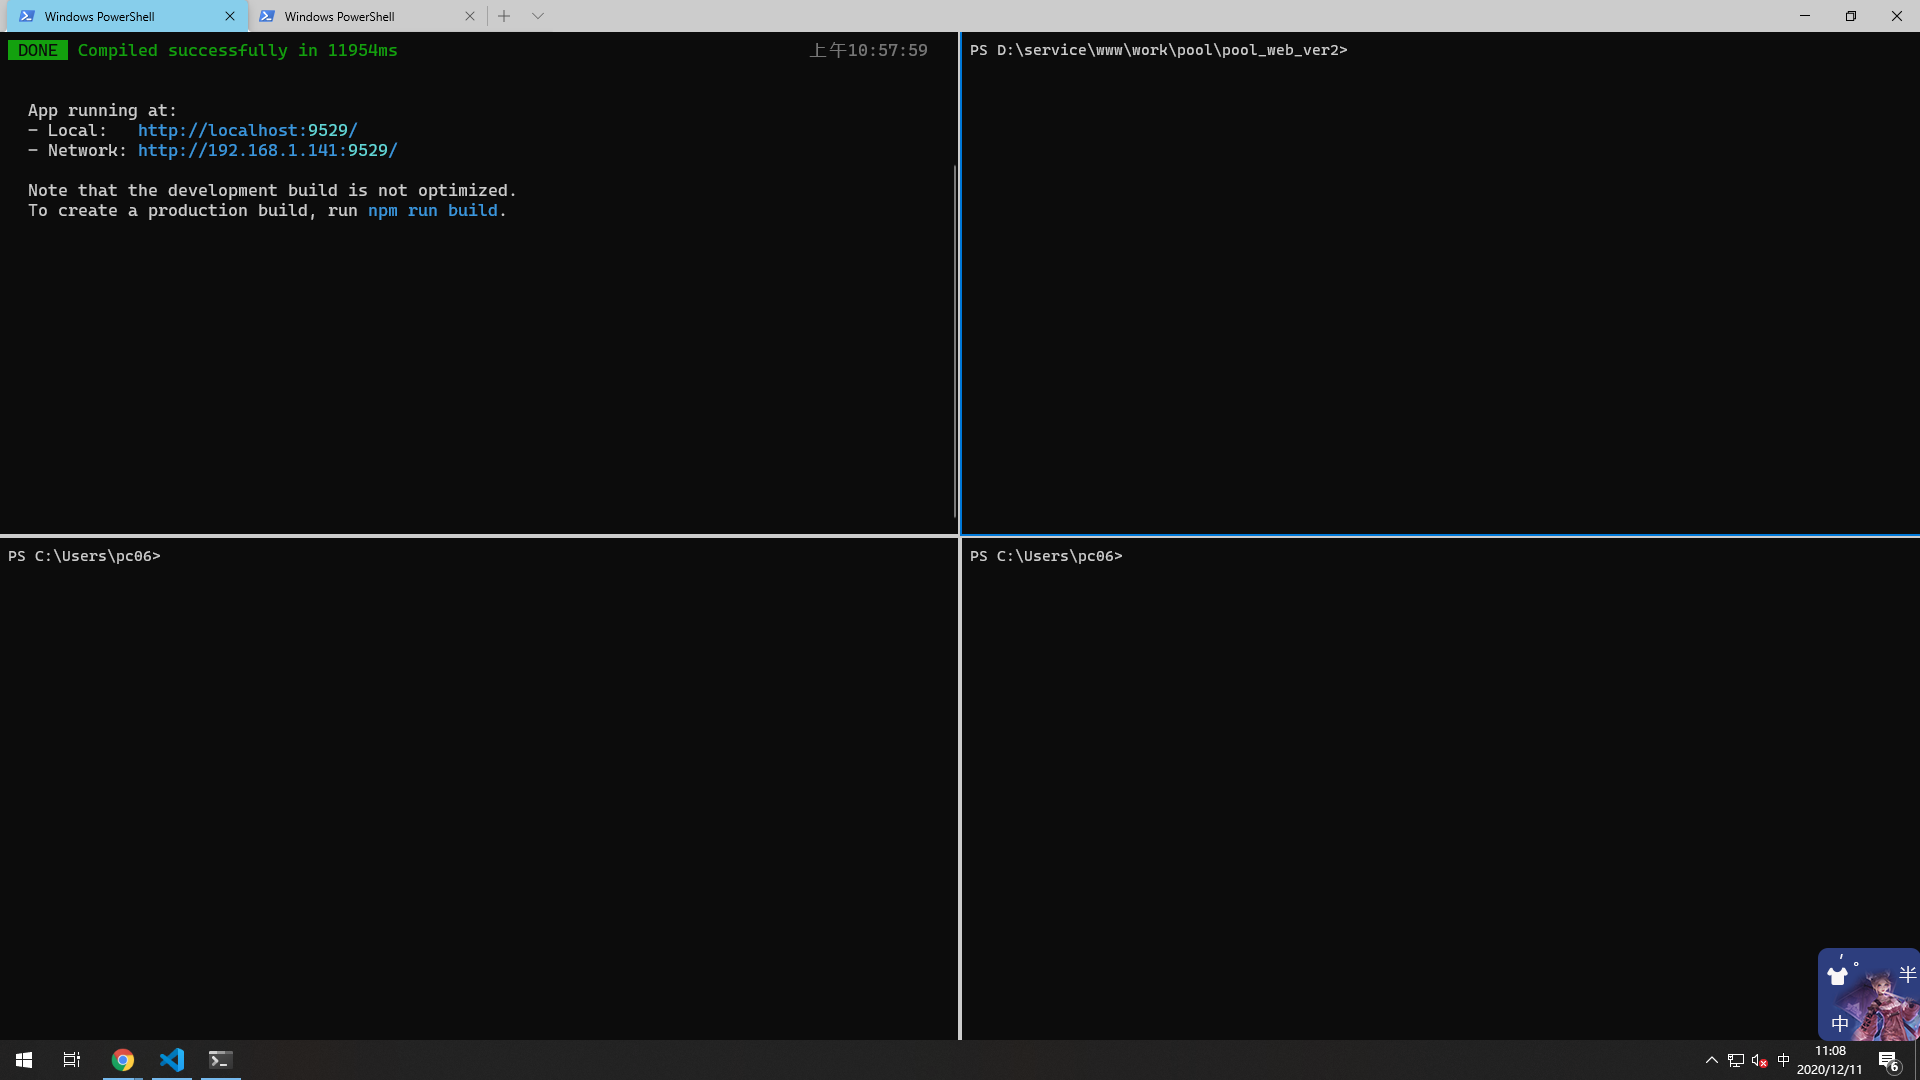
习惯了 mac 的 iterm2。再来用 windows 的, 默认的终端太难用了。弄了个 gitbash 也不是很好用。下个 windows terminal 就相对好一些了。
那就下载 windows terminal 吧。
可是,可是这个时候报错。下载错误,查看错误详情,发现提示错误代码为 0x80070422。提示这么明显了,那就解决这个问题。
12月
08
项目中,配置文件的作用是想当美丽的。这样使代码看起来好看,用起来还方便。不至于因为某个条件或场景还跑到逻辑里去修改。vue cli 里边就可以自己定义 .env.production .env.development .env
https://cli.vuejs.org/zh/guide/mode-and-env.html
有下边的概念:
- 通过 process.env.xxx 来取。
- 对象命名以 VUE_APP_ 开头。 如 VUE_APP_API
- .env.production 和 .env.development 会覆盖 .env 中定义的。
如果不生效,配置不生效,可能是定义对象的时候没以 VUE_APP_ 开头
这里列举几个定义:
# just a flag
ENV = 'production'

# base api
VUE_APP_BASE_API = 'http://117.24.6.252:8002'

# mode
VUE_APP_MODE = 'history'
12月
05
知识点方方面面。有时候不能全部都 get 到。碰到一个是一个。
这样就这样
- src/assets 文件夹和 src/static 文件夹。
assets 和 static 两个都是存放静态资源文件。项目中所需要的资源文件图片,字体图标,样式文件等都可以放在这两个文件下,这是相同点
assets中存放的静态资源文件在项目打包时,也就是运行npm run build时会将assets中放置的静态资源文件进行打包上传,所谓打包简单点可以理解为压缩体积,代码格式化。而压缩后的静态资源文件最终也都会放置在static文件中跟着index.html一同上传至服务器
static中放置的静态资源文件就不会要走打包压缩格式化等流程,而是直接进入打包好的目录,直接上传至服务器。因为避免了压缩直接进行上传,在打包时会提高一定的效率,但是static中的资源文件由于没有进行压缩等操作,所以文件的体积也就相对于assets中打包后的文件提交较大点。在服务器中就会占据更大的空间。
让 html 的title 动态的变换。就这样用吧。请看清看。
https://blog.csdn.net/weixin_43972992/article/details/102657462


