以整个视口为单位,使用滑轮滚动或导航触发来达到展示效果的网站是一种需求。一种是自己手写 js + css 来达到这种效果。还有一种使用 fullpage.js 来达到这个效果。当然,使用 swiperjs 来实现这效果也是妥妥的赞,还很丝滑。
https://github.com/alvarotrigo/fullPage.js
https://swiperjs.com/get-started
主要是 fullpage.js 是需要花钱购买服务,而 swiperjs 是开源使用的。并且 swiperjs 不仅仅可以做这种视口滚动效果。
所以,这里选择使用 swiperjs 来完成目标。
DEMO 展示效果如下图所示(gif 使用 https://www.mnggiflab.com/ 录制和压缩):
基础环境
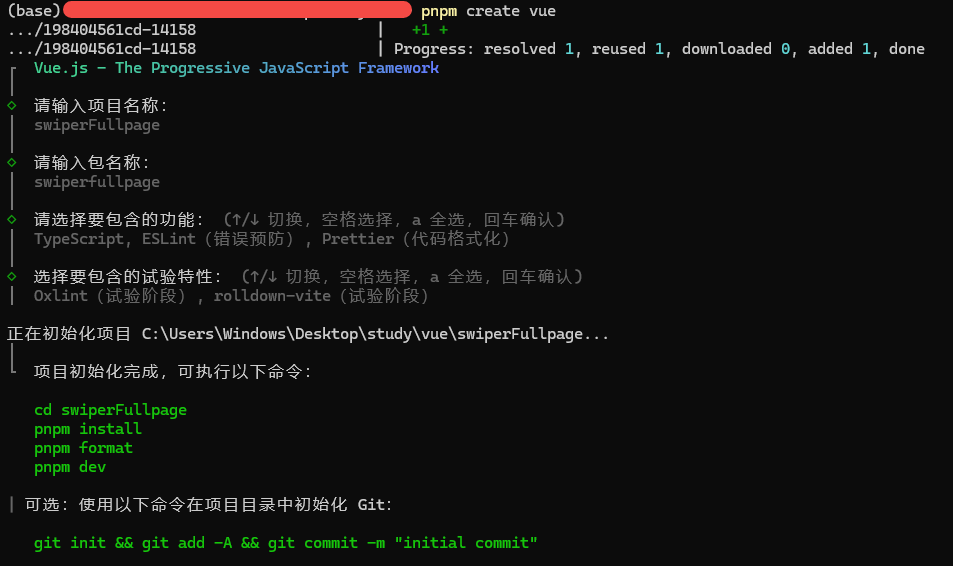
初始化一个 vue 项目。
pnpm create vue

cd swiperFullpage

pnpm install

pnpm format

pnpm dev
创建选项如下图所示。
然后,创建一个版本管理。
git init

git add .

git commit -m 'initialize'
先去掉 components 里的页面和默认样式。只留 App.vue 文件
rm -rf ./src/components
rm -rf ./src/assets
然后,修改 App.vue 文件。
<template>
  <h2>Home</h2>
</template>
删除 main.ts 中的样式引入。运行起来看看。没问题,添加 git 版本控制。
git add . && git commit -m '删除默认页面和样式'
使用
先安装 swiper。
pnpm add swiper
开始在 App.vue 中编写相关的代码
<template>
  <swiper
    direction="vertical"
    :modules="[FreeMode, Mousewheel]"
    :space-between="0"
    :slides-per-view="'auto'"
    :allow-touch-move="false"
    :pagination="{ clickable: true }"
    :mousewheel="{ forceToAxis: true, sensitivity: 10, releaseOnEdges: true }"
    style="height: 100vh"
    class="swiper-pointer-events"
    @swiper="onSwiper"
    @slideChange="onSlideChange"
    ref="swiperRef"
  >
    <swiper-slide class="slide" style="background: #444">
      <div class="slide-content">
        <h2>点绛唇·屏却相思</h2>
        <p>屏却相思,近来知道都无益</p>
        <p>不成抛掷,梦里终相觅</p>
        <p>醒后楼台,与梦俱明灭</p>
        <p>西窗白,纷纷凉月,一院丁香雪</p>
      </div>
    </swiper-slide>

    <swiper-slide class="slide" style="background: #333">
      <div class="slide-content">
        <h2>《望江南》</h2>
        <p>多少恨,昨夜梦魂中</p>
        <p>还似旧时游上苑</p>
        <p>车如流水马如龙</p>
        <p>花月正春风</p>
      </div>
    </swiper-slide>

    <swiper-slide class="slide" style="background: #222">
      <div class="slide-content">
        <h2>《蟾宫曲·春情》</h2>
        <p>平生不会相思</p>
        <p>才会相思,便害相思</p>
        <p>身似浮萍,心如飞絮,气若游丝,</p>
        <p>空一缕余香在此</p>
      </div>
    </swiper-slide>

    <swiper-slide class="slide slide-footer" style="height: 240px; background: #111">
      <p>© 2025 Vini123.Com All rights reserved.</p>
    </swiper-slide>
  </swiper>
</template>

<script setup lang="ts">
import { ref } from 'vue'
import { Swiper, SwiperSlide } from 'swiper/vue'
import { FreeMode, Mousewheel } from 'swiper/modules'
import 'swiper/css'

const swiperRef = ref()
const activeIndex = ref(0)

const onSwiper = (swiper: any) => {
  swiperRef.value = swiper
  activeIndex.value = swiper.activeIndex
}
const onSlideChange = () => {
  if (swiperRef.value) {
    activeIndex.value = swiperRef.value.activeIndex
  }
}
</script>

<style>
html,
body {
  margin: 0;
  padding: 0;
}
</style>

<style scoped>
.slide {
  display: flex;
  align-items: center;
  justify-content: center;
  height: 100vh;
}

.slide-footer {
  color: #fff;
  align-items: flex-end;
  padding-bottom: 20px;
}

.slide-content {
  color: #fff;
  text-align: center;
  background: rgba(0, 0, 0, 0.4);
  padding: 30px 100px;
  border-radius: 24px;
}
</style>
这里要注意一点。并不是所有的页面都是整个视口的高度。比如底部的信息。这个时候需要设置 slides-per-view:auto 和 FreeMode。其他的根据实际情况操作。这里页面高度是整个视口的高度 100vh,有的时候,swiper 是某个页面的一部分,高度自然不一样。
运行起来看看,提交版本控制。
git add .
git commit -m '安装 swiper,编写 demo'